v1.5.5 - Trial
23/05/2026 - Update
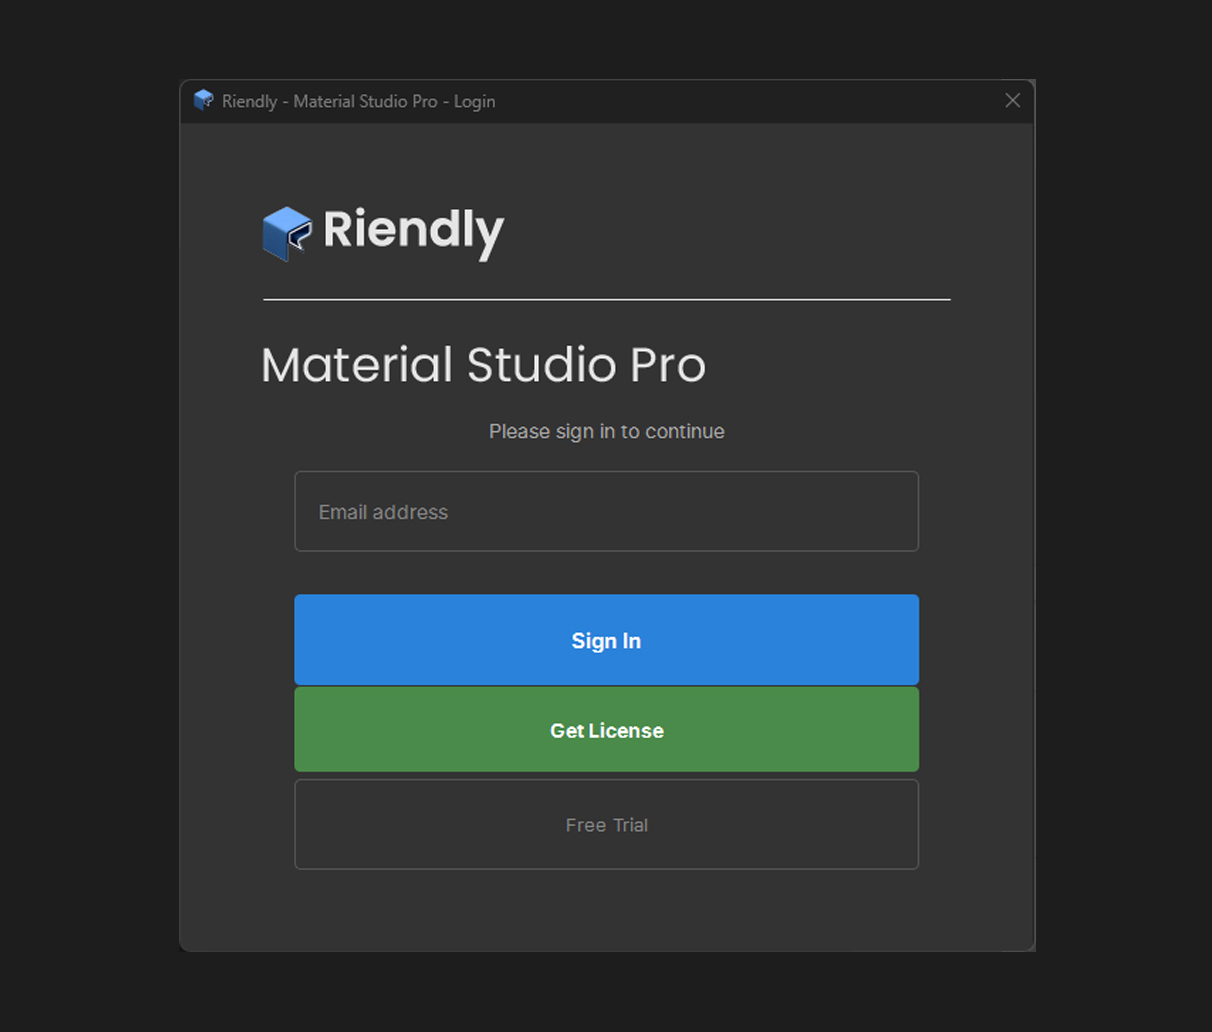
We've added a feature to enable a trial mode for users who want to test the software before committing to a purchase. This trial mode provides access to all features, allowing users to fully experience the capabilities of the software and make an informed decision about whether it meets their needs. To activate the trial mode, simply click on the "Start Trial" button on the login page. This will allow every feature of Material Studio Pro, but with the addition of a watermark on exported images. We hope this feature will help more artists discover and enjoy our product!
v1.5.4 - Bug fix
15/05/2026 - Soz...
Whilst we extensively test every new version before deploying, sometimes things slip through the cracks. We want to be honest and apologize. This release addresses an unexpected minor issue that was discovered by one of our users post-launch, and was immediately fixed and redeployed.
We took this opportunity to also add a few UI refinements that were going to wait until the next major release.
If you discover any issues or would like to request a feature, please don't hesitate to reach out to us through the dedicated support page or our community channels. We are committed to providing a high-quality experience and will work diligently to resolve any problems that arise. Thank you for your understanding and continued support.
v1.5.3 - Displacement Map Handling and UI Refinements
14/05/2026 - New features and UI improvements
V1.5.3 is a quality-of-life release with a new material parameter, an improved loading experience, and several UI tidyups that have been on the list for a while.
The new Displacement Map Blur slider lets you apply a gaussian blur to the height map before it is passed to Blender's displacement modifier. This is particularly useful for height maps that have very sharp transitions - hard edges in a displacement map translate directly to jagged, stepped geometry on the rendered mesh. A small blur radius of 2-4 smooths those transitions without visibly softening the overall displacement detail. The slider runs from 0 (off) to 10, and defaults to 0 so existing renders are unaffected.
The function to Scan Subfolders has been applied across all the entire app. This was a requested feature to allow batch processing of Showcase sheets following a large render batch. We agreed completely with this! It's now been implemented and the Showcase tab now also fully supports subfolder scanning, iterating each immediate child folder and generating a separate sheet per texture set.
v1.5.2 - Channel Viewer Fixes & Rendering Enhancements
07/05/2026 - Improvements and UI Refinements.
V1.5.2 is a focused fix and refinement release. Most of the changes are invisible unless you've been using the Channel Viewer or rendering with the cylinder shape - but in both cases the results are substantially more accurate than before. This represents our ongoing commitment to quality for our users, even in the smaller details. The Channel Viewer improvements give you a more accurate read on your texture maps, and the cylinder fixes ensure that all render shapes are producing their best possible results. A few minor UI tweaks round out the release to make the experience smoother and more intuitive.
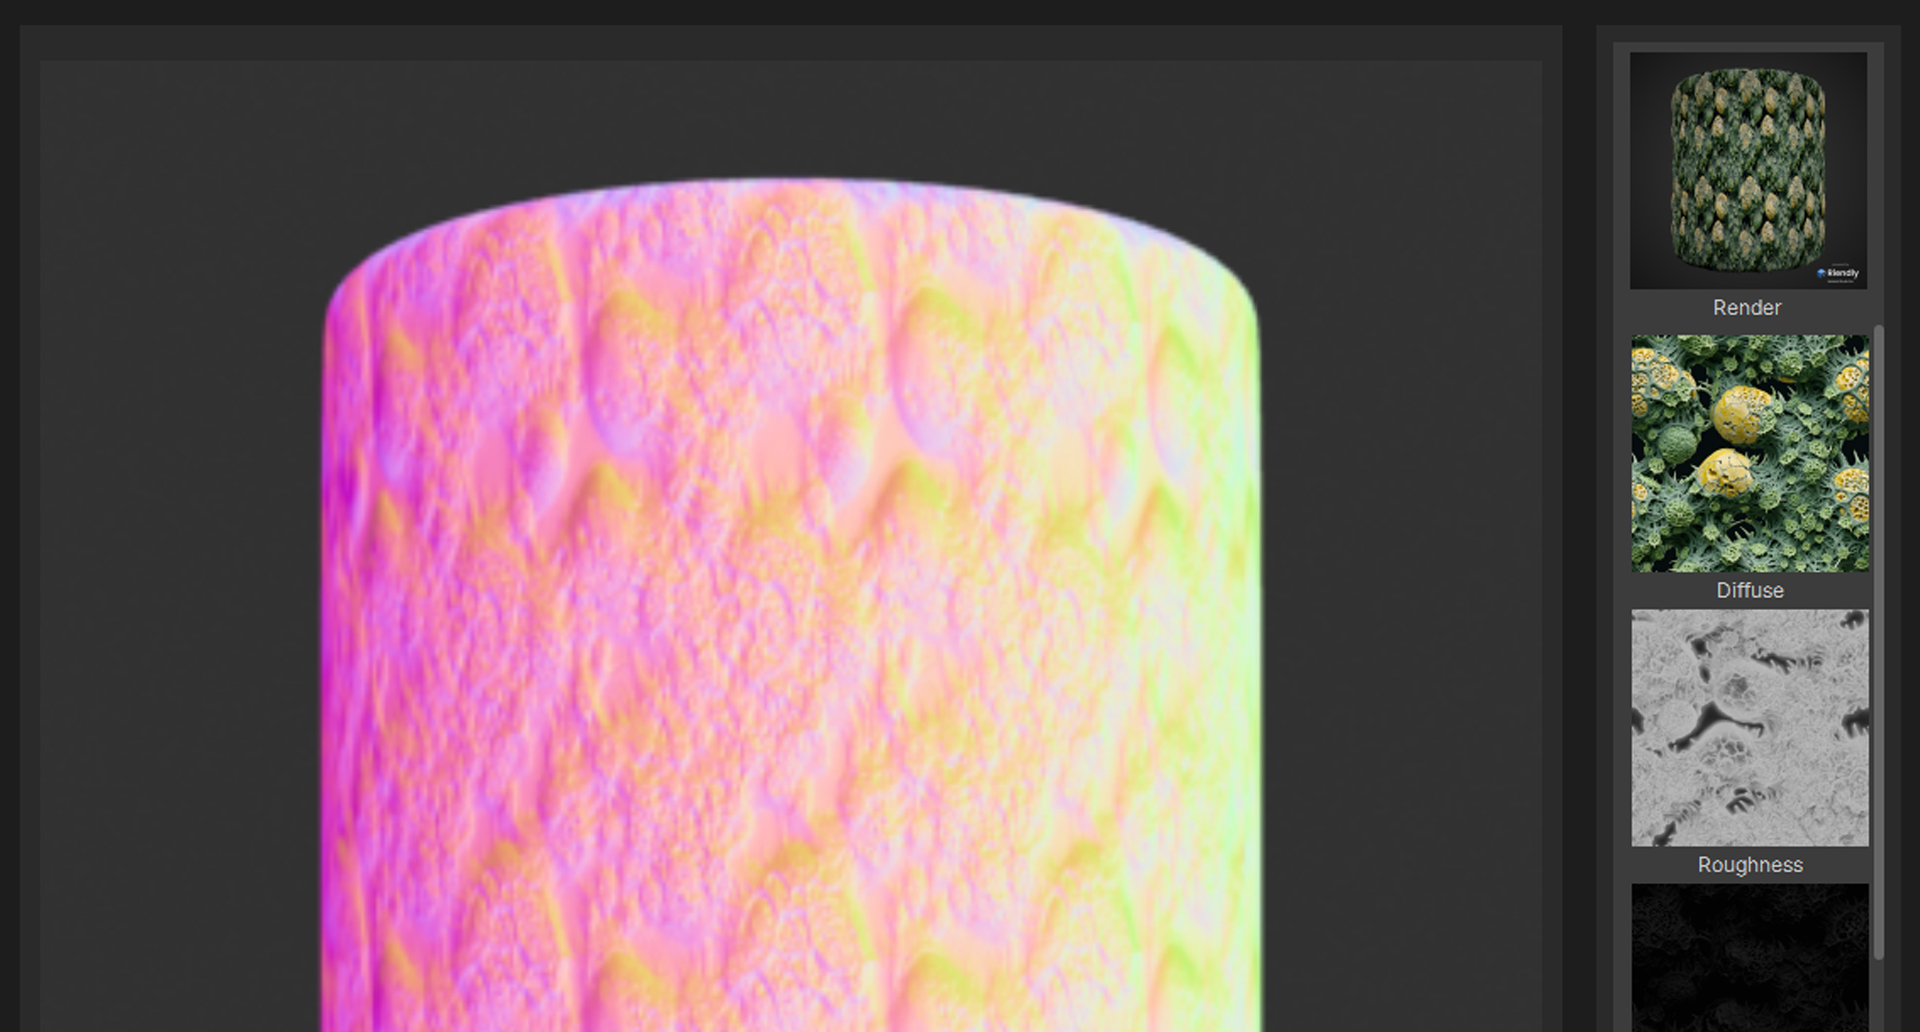
The biggest change in the Channel Viewer is the switch to an Emission shader for all channel solos. Previously each channel used a Principled BSDF, which meant the HDRI and light setup were still influencing the result. Diffuse maps now are visually improved and more accurate. Roughness maps were hard to read because the reflections varied across the surface. Now every channel routes the texture directly to an Emission input with flat white background and no lights - what you see now is the raw map data, nothing else. The view transform is also now hardcoded to Standard rather than inheriting the scene's AgX setting. AgX is excellent for final renders but does a lot of perceptual compression that makes roughness gradients and diffuse values look softer than they are. Standard maps values linearly and gives you an accurate read on what the texture actually contains.
The cylinder shape has had a complete overhaul of its UV map, so the displacement strength is massively improved and does not cause seam tearing at the vertical edges which is unavoidable with a standard cylinder UV unwrap. A shape-aware multiplier now reduces displacement to 0.35x for cylinders. Scene-loaded shapes (cylinder, cube, cloth, floor plane) now have a subdivision level applied to their existing modifiers to match the render quality setting. The result is much smoother, higher-detail displacement on cylinders and all shapes at higher quality settings.
A few smaller things: the Channel Viewer strip now populates from the last subfolder in a batch set (matching the last rendered preview) rather than the first. Render shape changes now automatically set a sensible texture scale default - cylinder gets 2, floor plane gets 5, everything else gets 3. The cinematic vignette slider defaults to 50% as it should have from V1.5.1.
v1.5.1 - Output Polish & Watermark
01/05/2026 - Watermark overlay, cinematic vignette, subdivision slider, UI refinements.
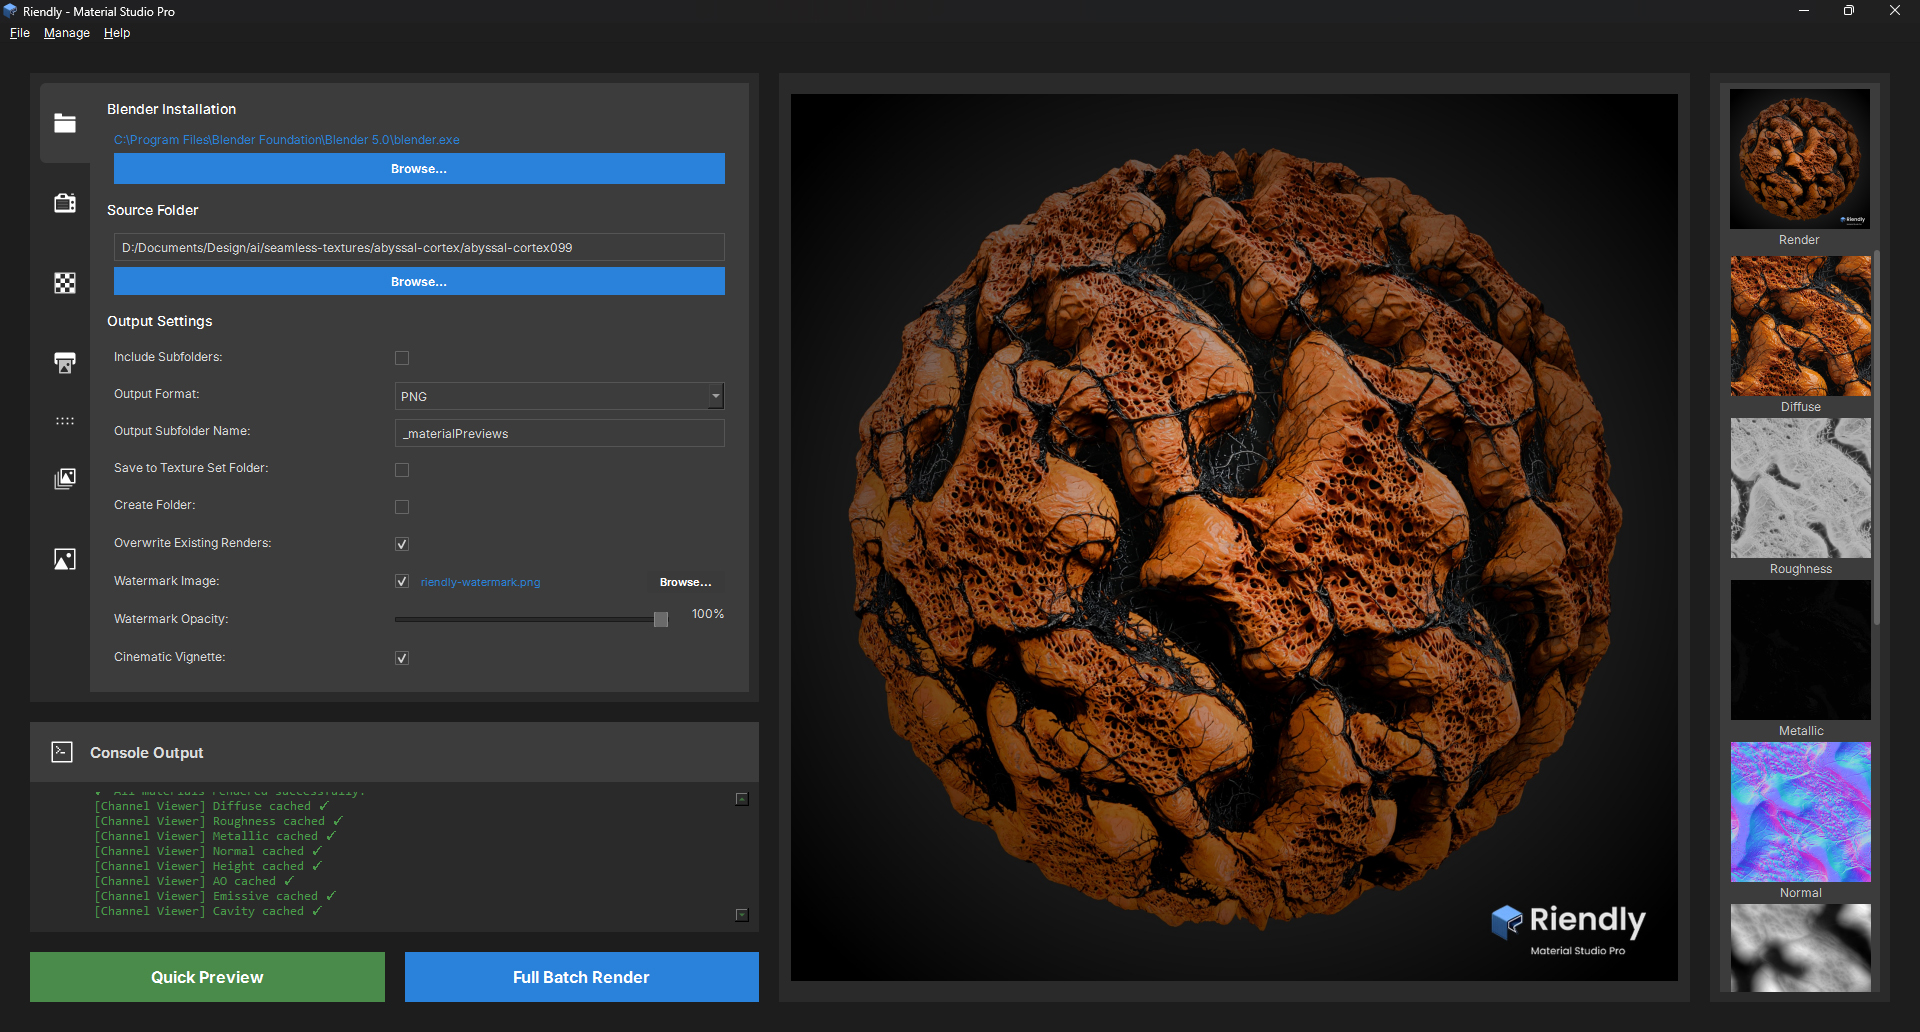
v1.5.1 is a refinement release focused on output quality and UI consistency. The headline addition is the Watermark system: a branding overlay that composites on each rendered preview before saving. This lets you add your own branding with a transparent PNG, and an opacity slider to control visibility.
The Cinematic Vignette applies a smooth radial falloff across the corners and edges of each render. It is applied per individual render in the composite stage after the background colour is composited but before the watermark, so it affects the image without touching the overlay. The vignette effect is layered under the watermark so your branding is never darkened by the falloff.
A new Add Subdivision Levels slider (0-4) in Render Settings adds extra mesh subdivision on top of the quality preset’s base level. Useful when you want smooth displacement without bumping the full render quality up a tier.
Minor UI improvements; The Columns X Rows dropdown now includes both portrait and landscape orientations for every valid grid combination and tooltips have been added to every field across all tabst o assist the user.
V1.5.0 - Major Update: Channel Viewer & Additional Render Shapes
10/05/2026 - Release notes and improvements
Version 1.5.0 is a major update with 2 new requested features.
1: Additional render shapes.
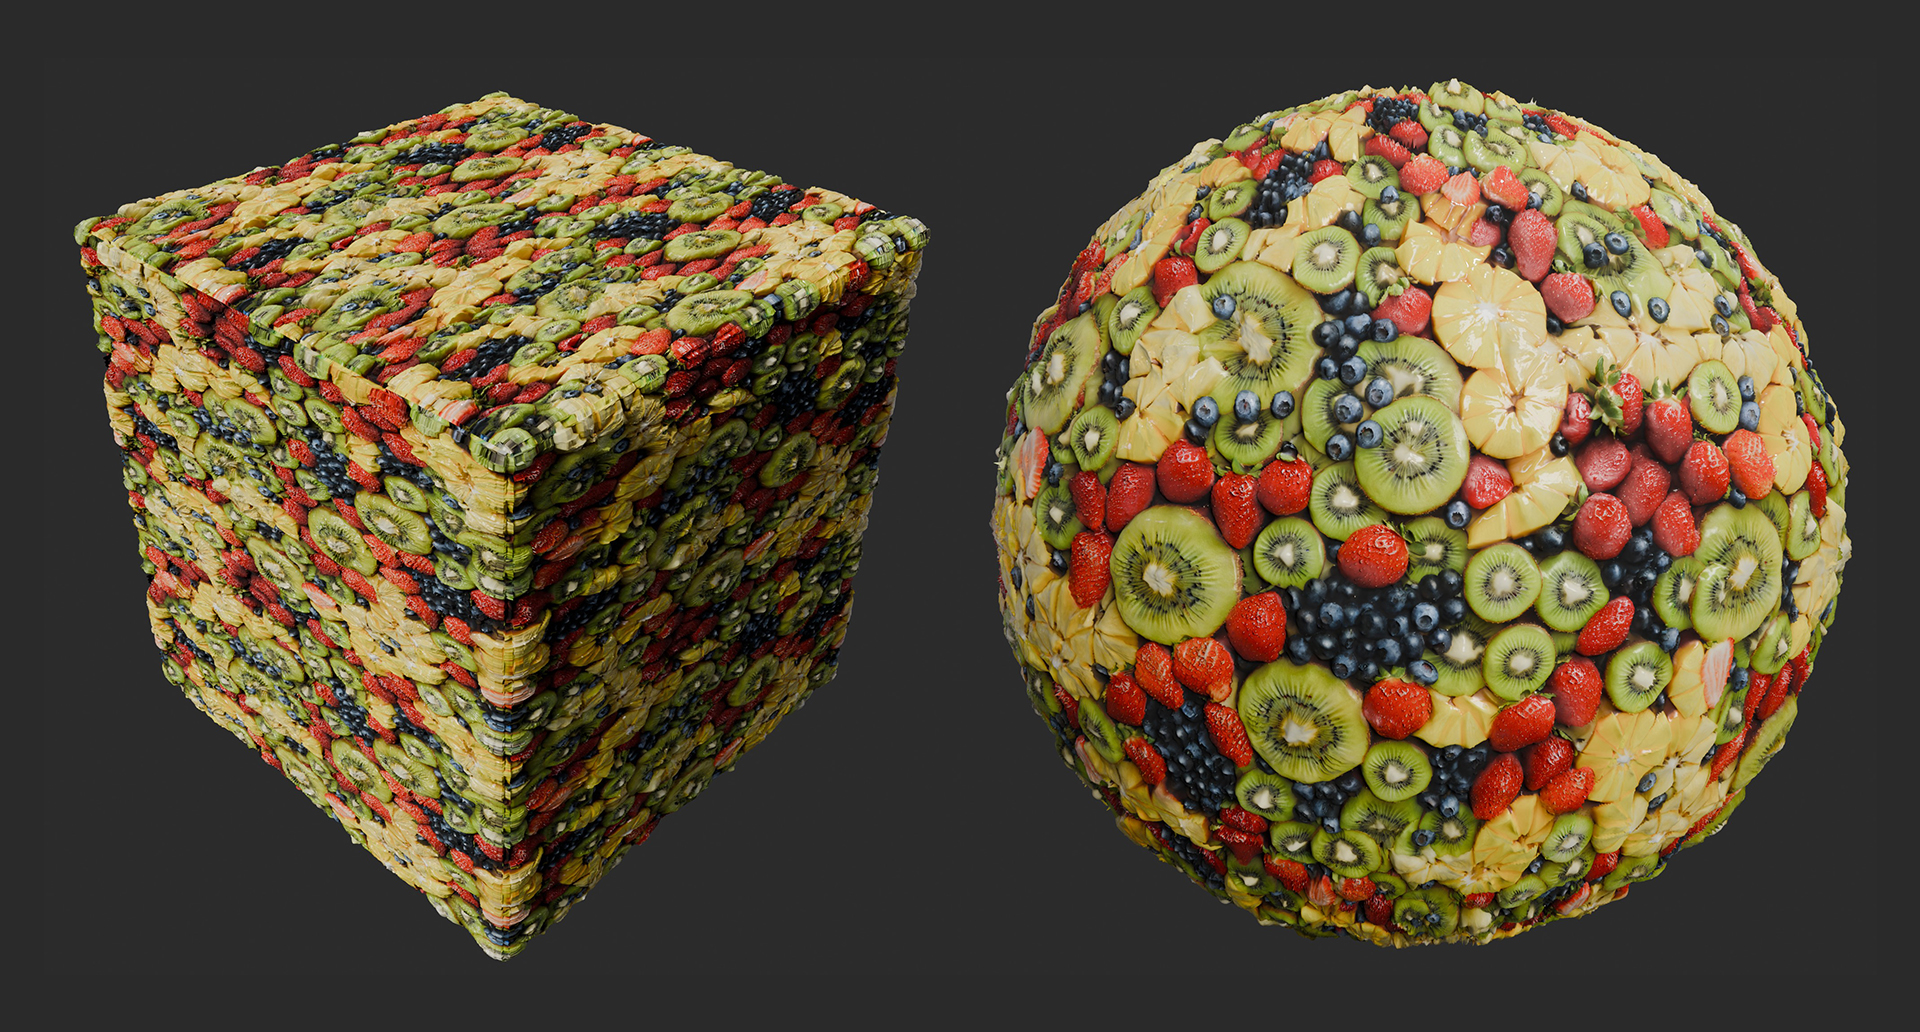
The preview panel dropdown now includes extra scenes to give users a greater range of ways to showcase their textures: Along with the existing sphere, cylinder, cube and cloth, we have now added a flat plane (great for terrain and floor textures) as well as a sphere floating above a ground plane. This gives artists a huge amount of flexibility in displaying your textures.
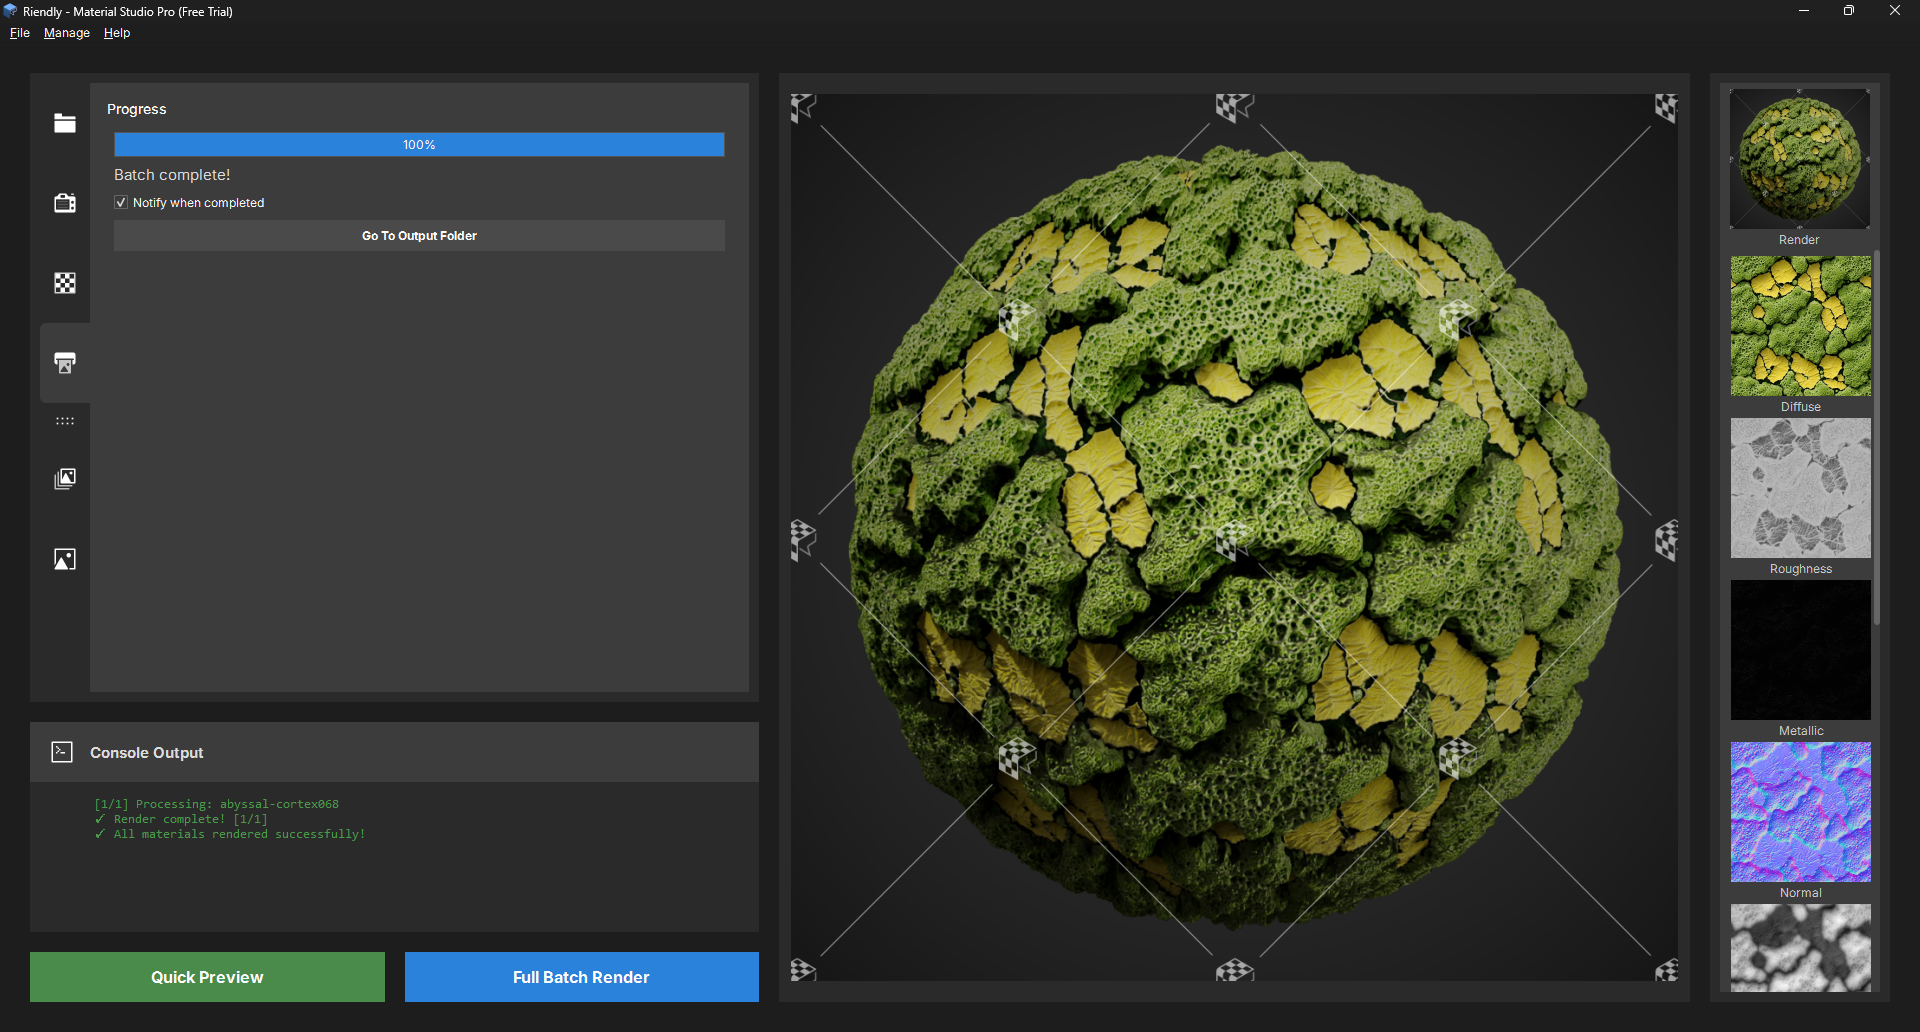
2: Channel Viewer
The Channel Viewer allows you to inspect individual texture maps with a live histogram. This feature provides detailed insights into the distribution of pixel values, helping artists make informed adjustments to their textures.
Each channel is automatically loaded and cached for quick viewing as soon as the render has finished.
The UI has been overhauled to accomodate displying of the texture set thubnails alongside the channel viewer. The thumbnails are now displayed in a vertical column on the left, with the channel viewer showing a preview when clicked. This layout allows for easy navigation between different texture maps while providing ample space for detailed analysis of each map's histogram and pixel data.
Minor Improvements
An option has been added to the render background color options to allow transparent alpha output for artists. Especially useful for those who want to composite the preview renders into their own backgrounds.
You can now output the render preview as an EXR file with alpha, in addition to the existing PNG option. This allows for higher fidelity output with support for HDR data and transparency, giving artists more flexibility in how they use their renders in post-production workflows.
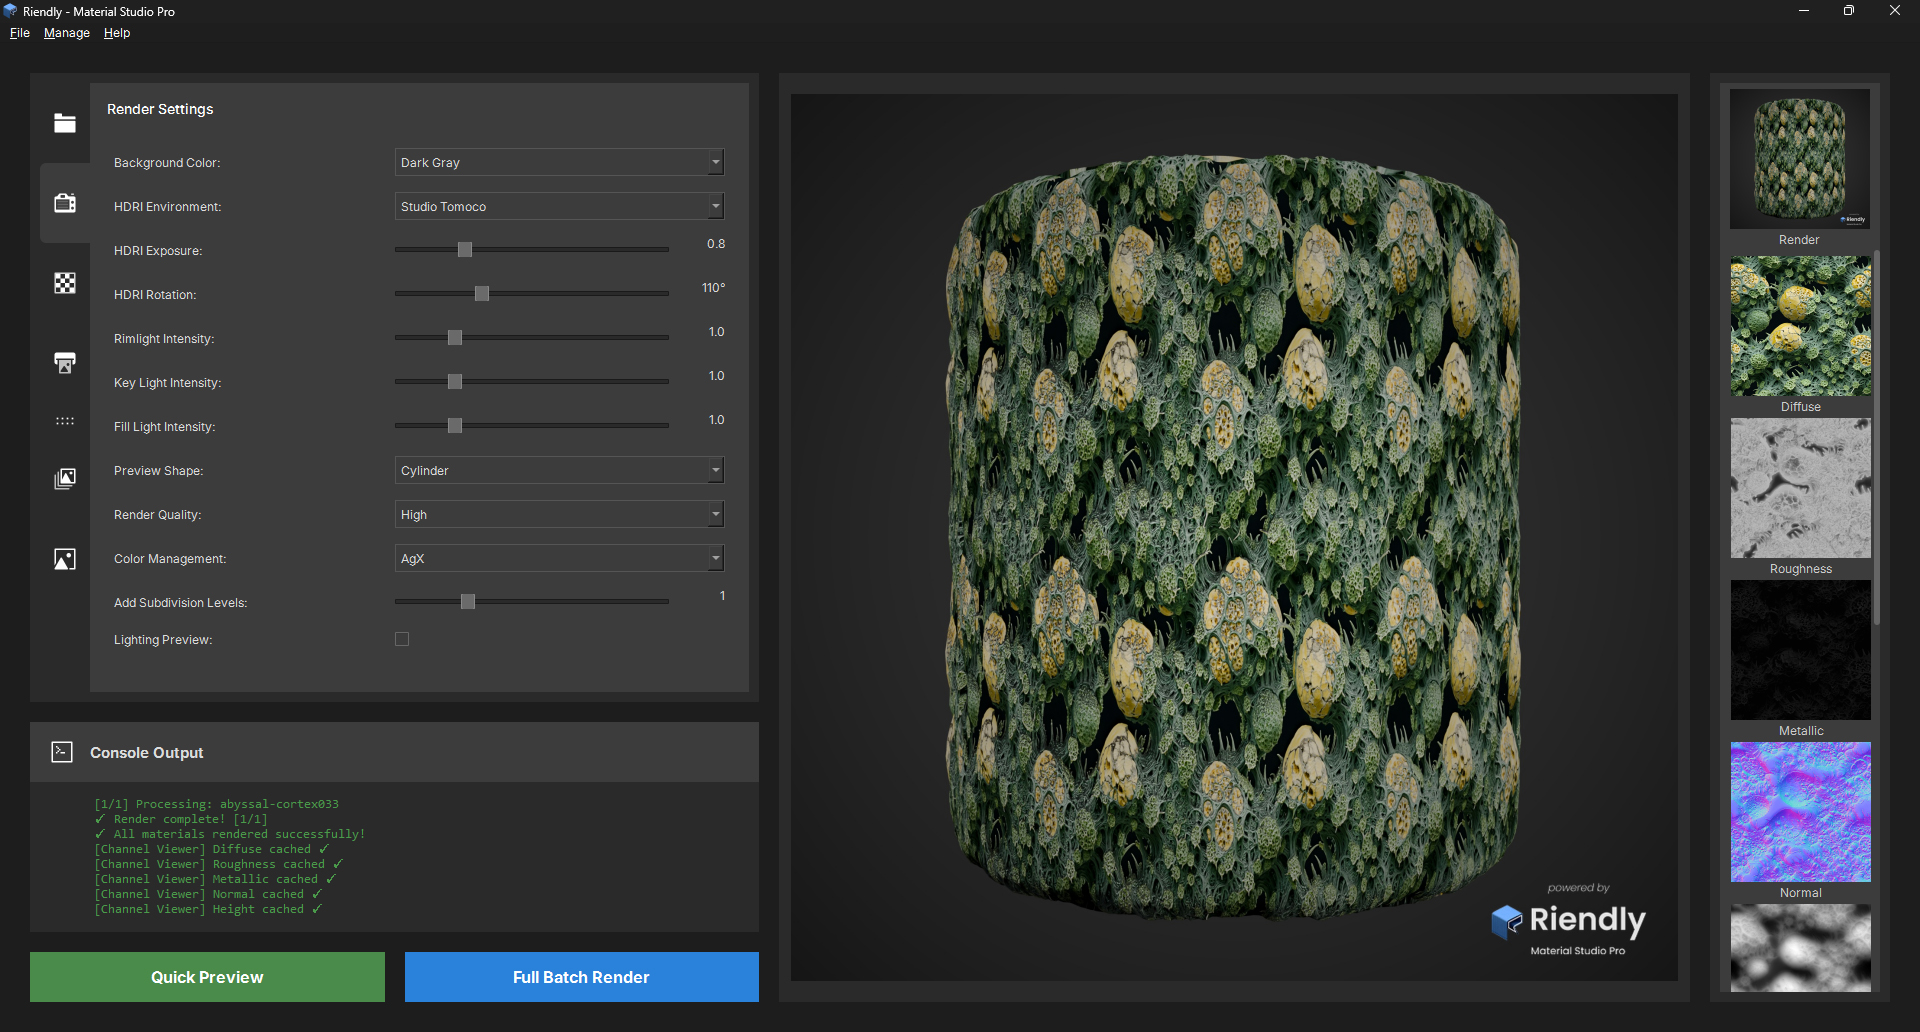
A color management has been added to the render preview to ensure that the colors displayed in the app closely match the final output. This improvement helps artists make more accurate adjustments to their textures by providing a more reliable preview of how their materials will look in different lighting conditions and environments. You can now select between Filmic, AgX, and Standard color management profiles to suit your workflow and preferences.
Additional options have been added to the Contact Sheet and Showcase generators, to provide artists with more tools to create polished presentations of their work directly from the app, streamlining the process of sharing and showcasing their textures.
v1.4.0 - Lighting Preview
06/05/2026 - Live Lighting Calibration Preview
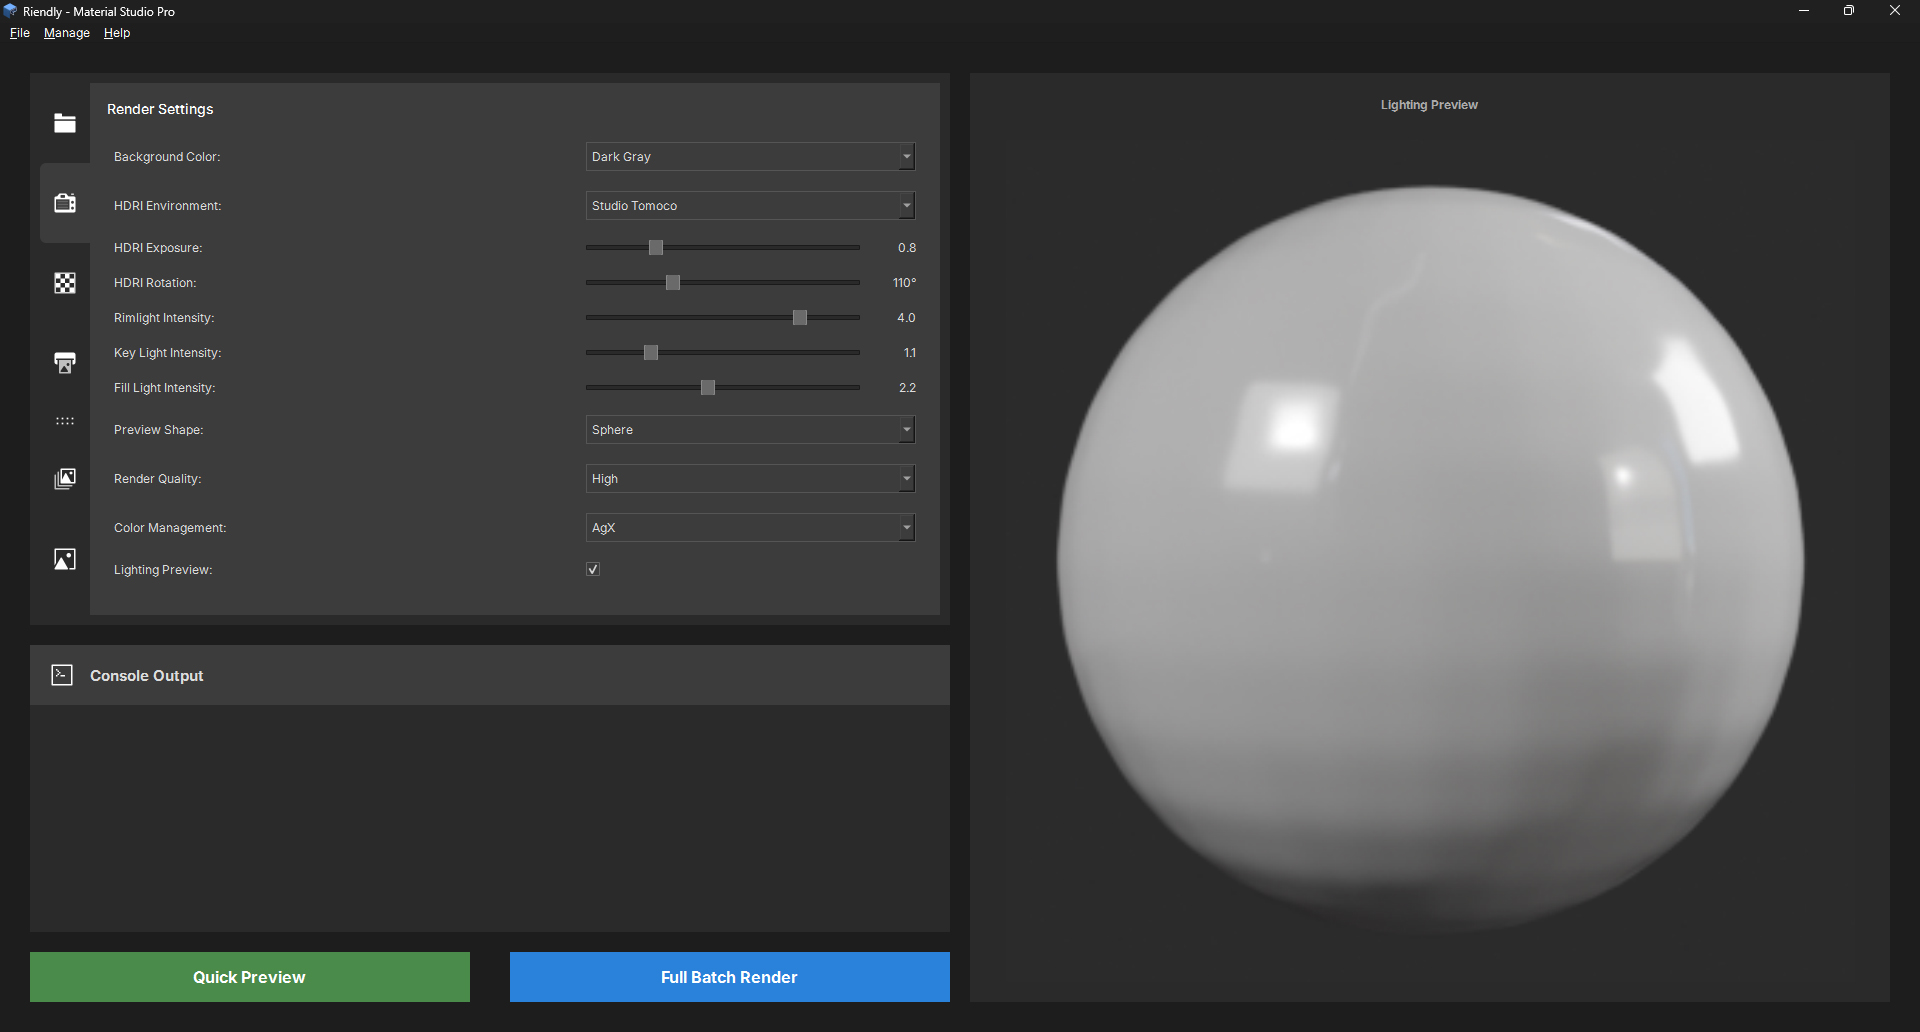
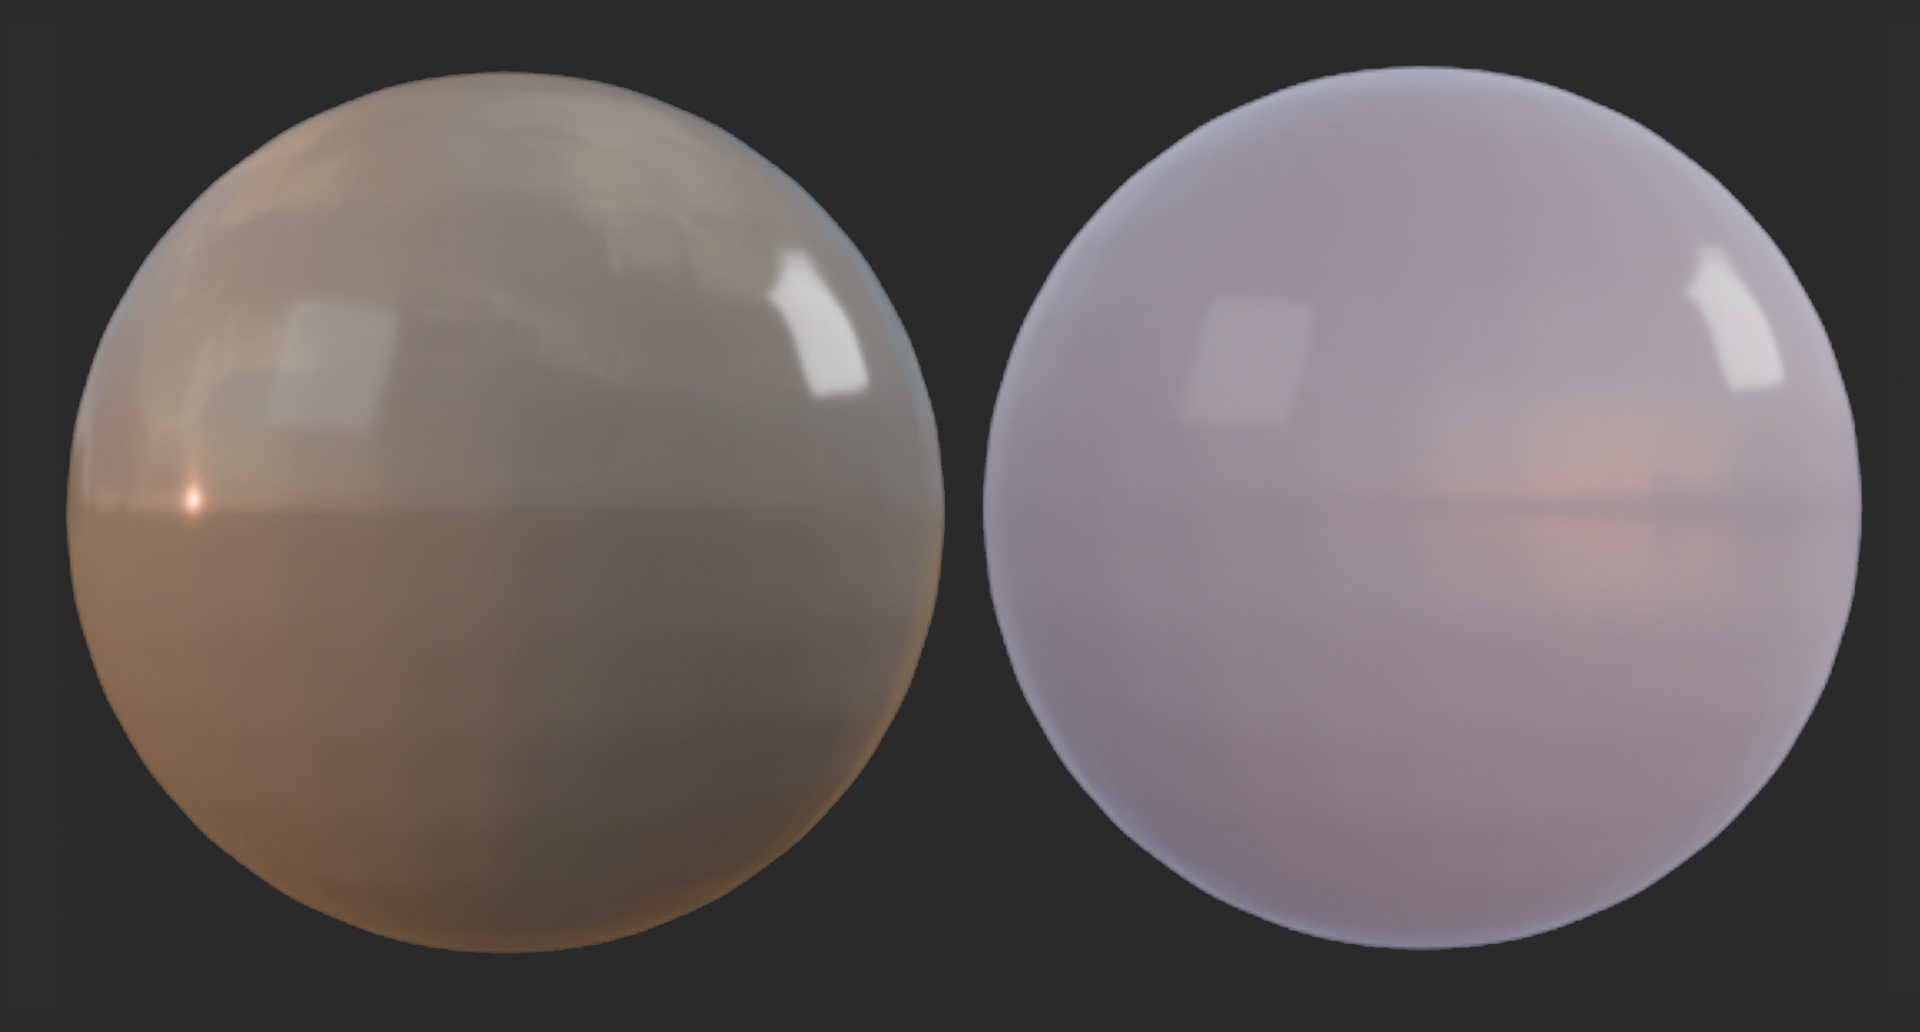
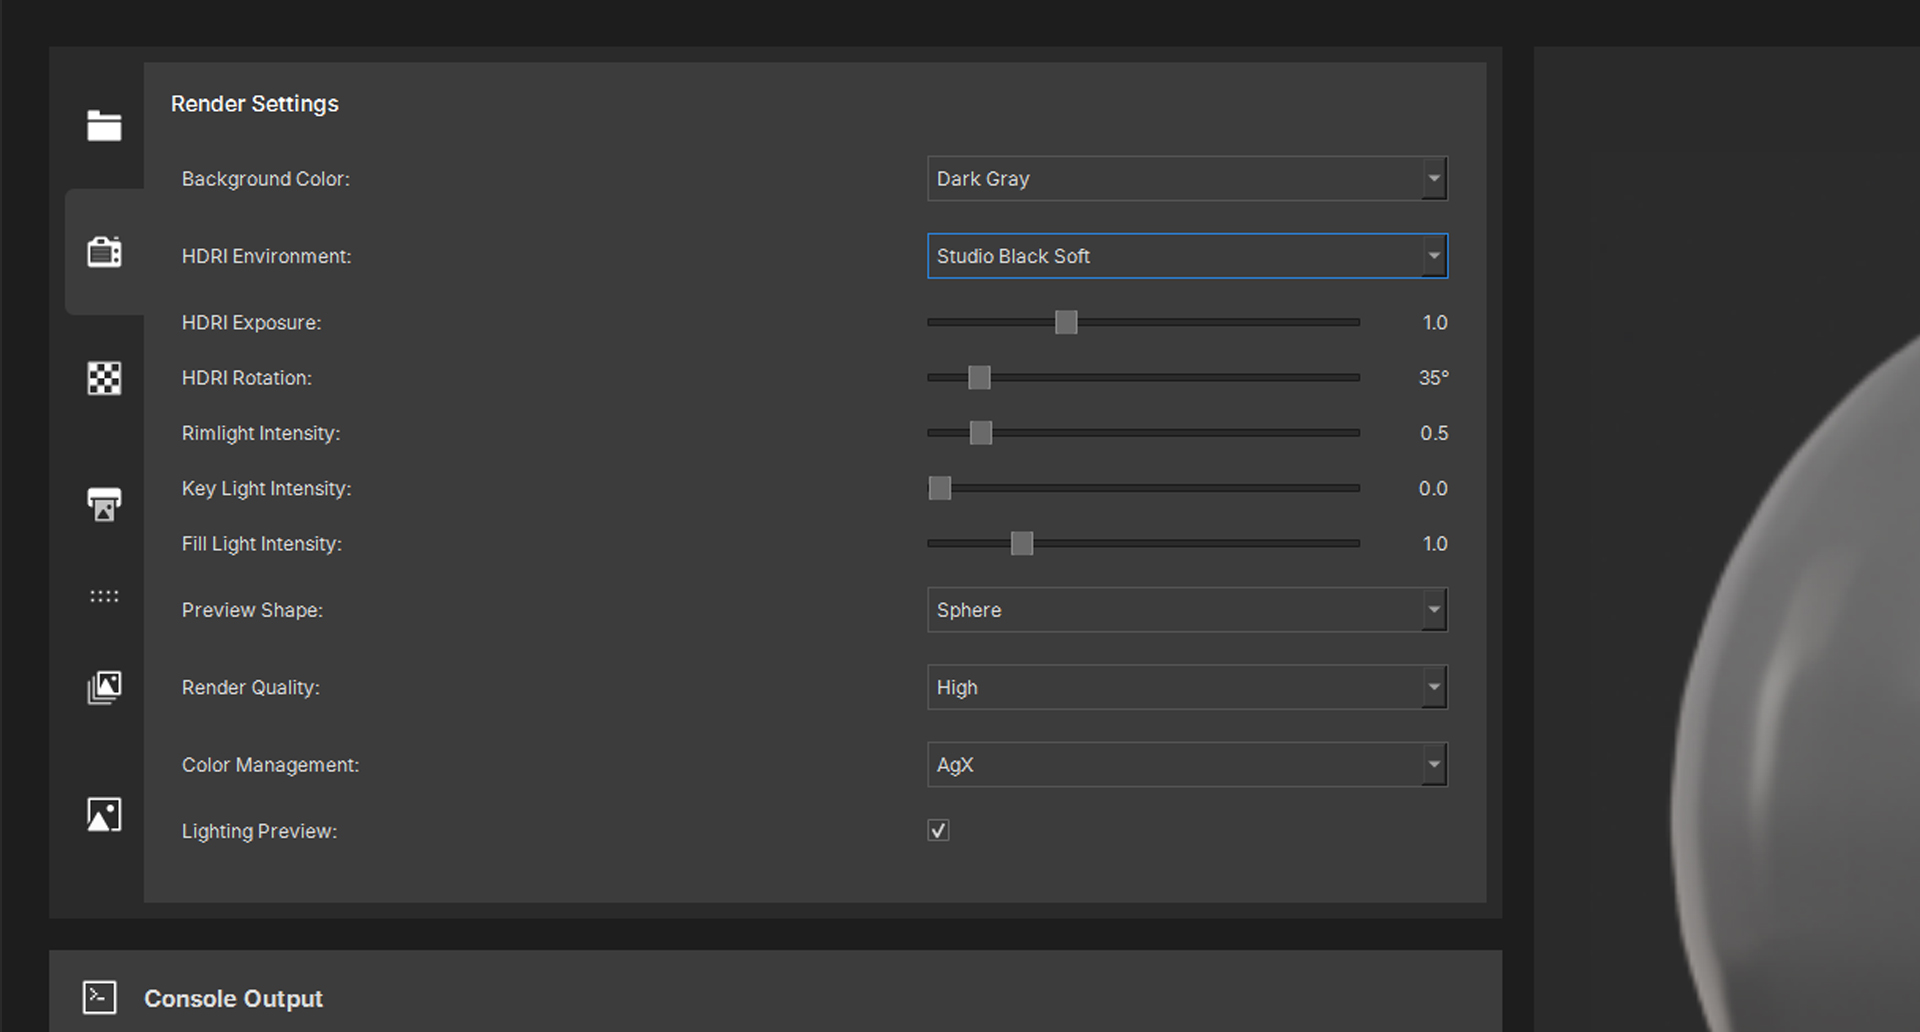
The core idea behind v1.4.0 is immediate feedback on lighting. Previously the only way to judge your HDRI and light settings was to run a full render or a Quick Preview. The Lighting Preview checkbox in Render Settings solves this. Enable it and the app spawns a headless Blender process that renders a plain 18% grey sphere using EEVEE - the rasterisation engine - and displays the result in the right preview panel. EEVEE's render time once Blender is loaded is well under a second, so the total round-trip (Blender startup included) is around two to three seconds. From then on, releasing any lighting slider triggers a debounced re-render 800ms after your last adjustment. The sphere stays visible during the update
Lighting Improvements
The Rimlight is a large AREA light directly behind the sphere - it lifts the silhouette edge off the background and adds separation on dark materials without affecting the front of the sphere. The Key Light is a SUN from upper front-right; it adds directional shading that makes displacement and normal map detail readable. The Fill Light is a large soft AREA from front-right that lifts the shadow side without producing a specular dot.
V1.3.0 - Major Update: Contact Sheet & Showcase Generator
30/04/2026 - Release notes and improvements
Version 1.3.0 is out and it's a big one. The focus this release is output - specifically, two new sheet generators that let you go straight from a folder of textures to a finished, print-ready layout without leaving the app.
Contact Sheet Generator
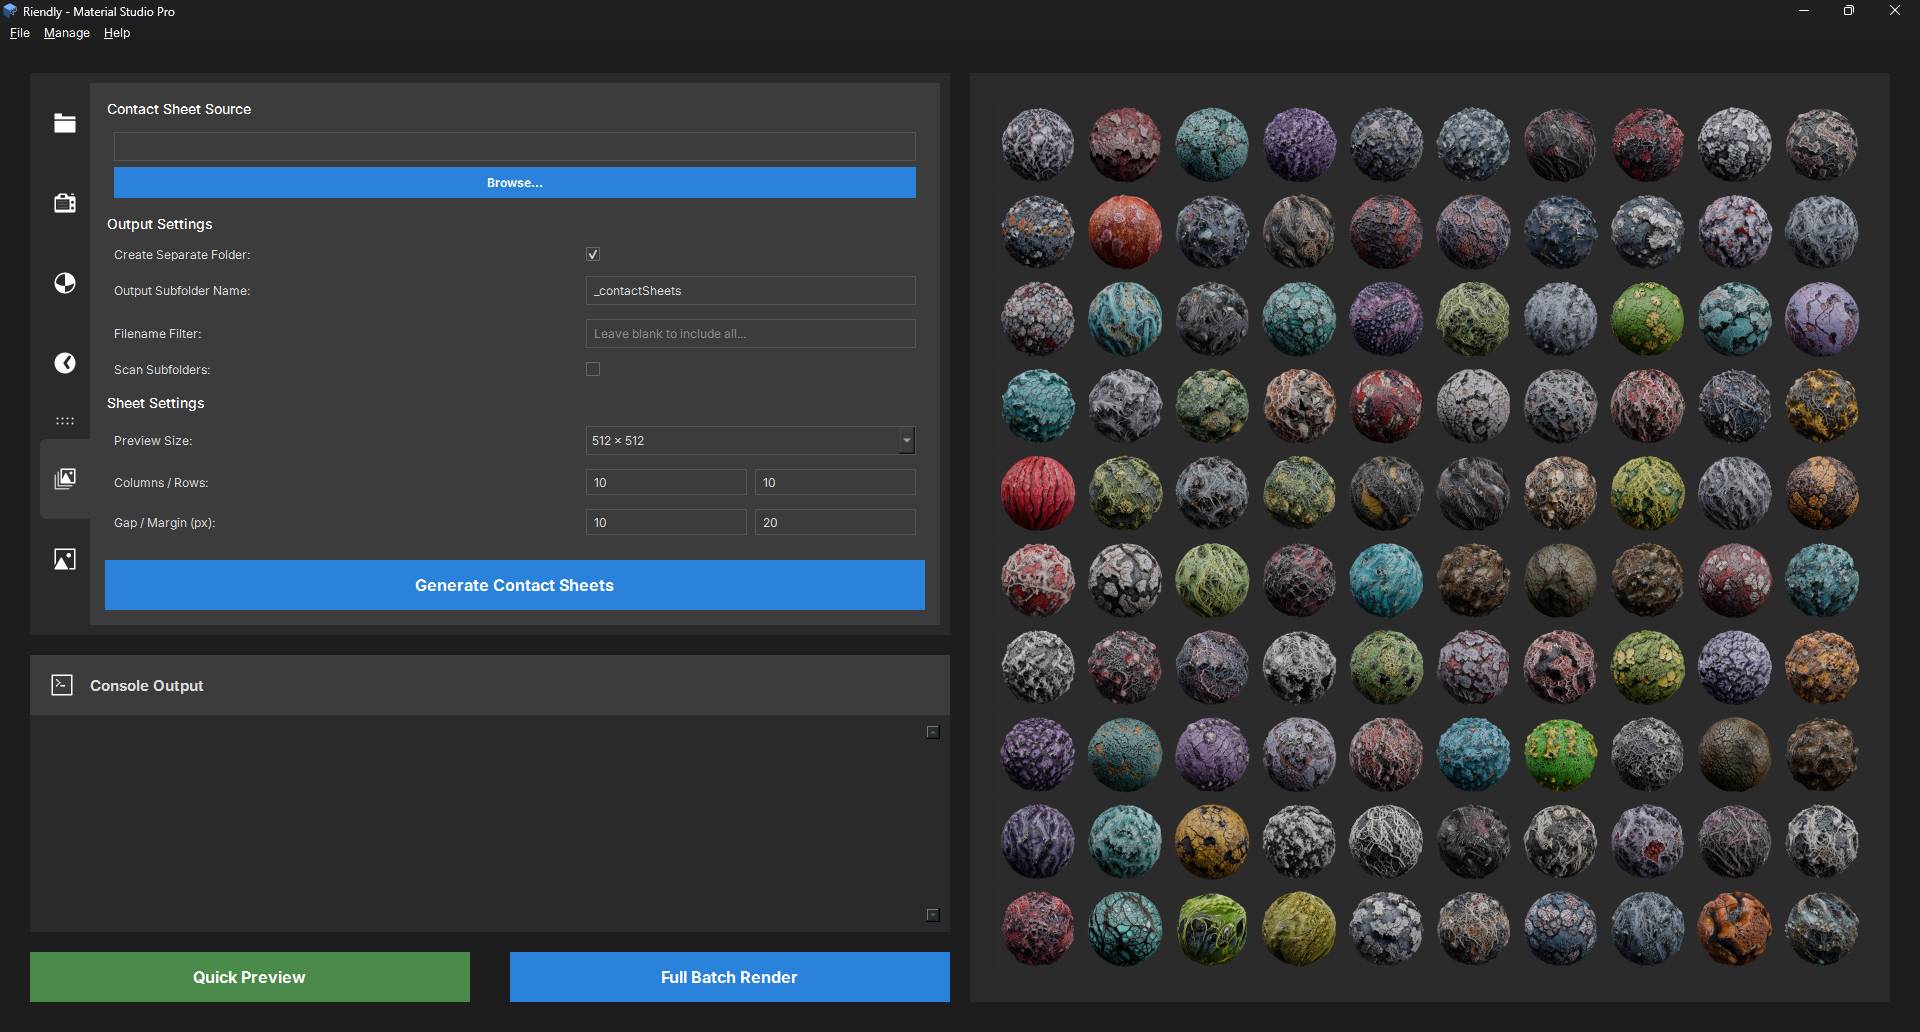
The Contact Sheet tab takes any image folder and builds a clean thumbnail grid. Set your columns, rows, gap, and margin, then pick a per-cell Preview Size (512, 256, 128, or 64 px) and the output dimensions are calculated automatically. Thumbnails are fitted and centred with aspect ratio preserved, so nothing gets squashed. You can filter by filename, scan subfolders, and output into a dedicated subfolder - all from the one panel.
Showcase Sheet Generator
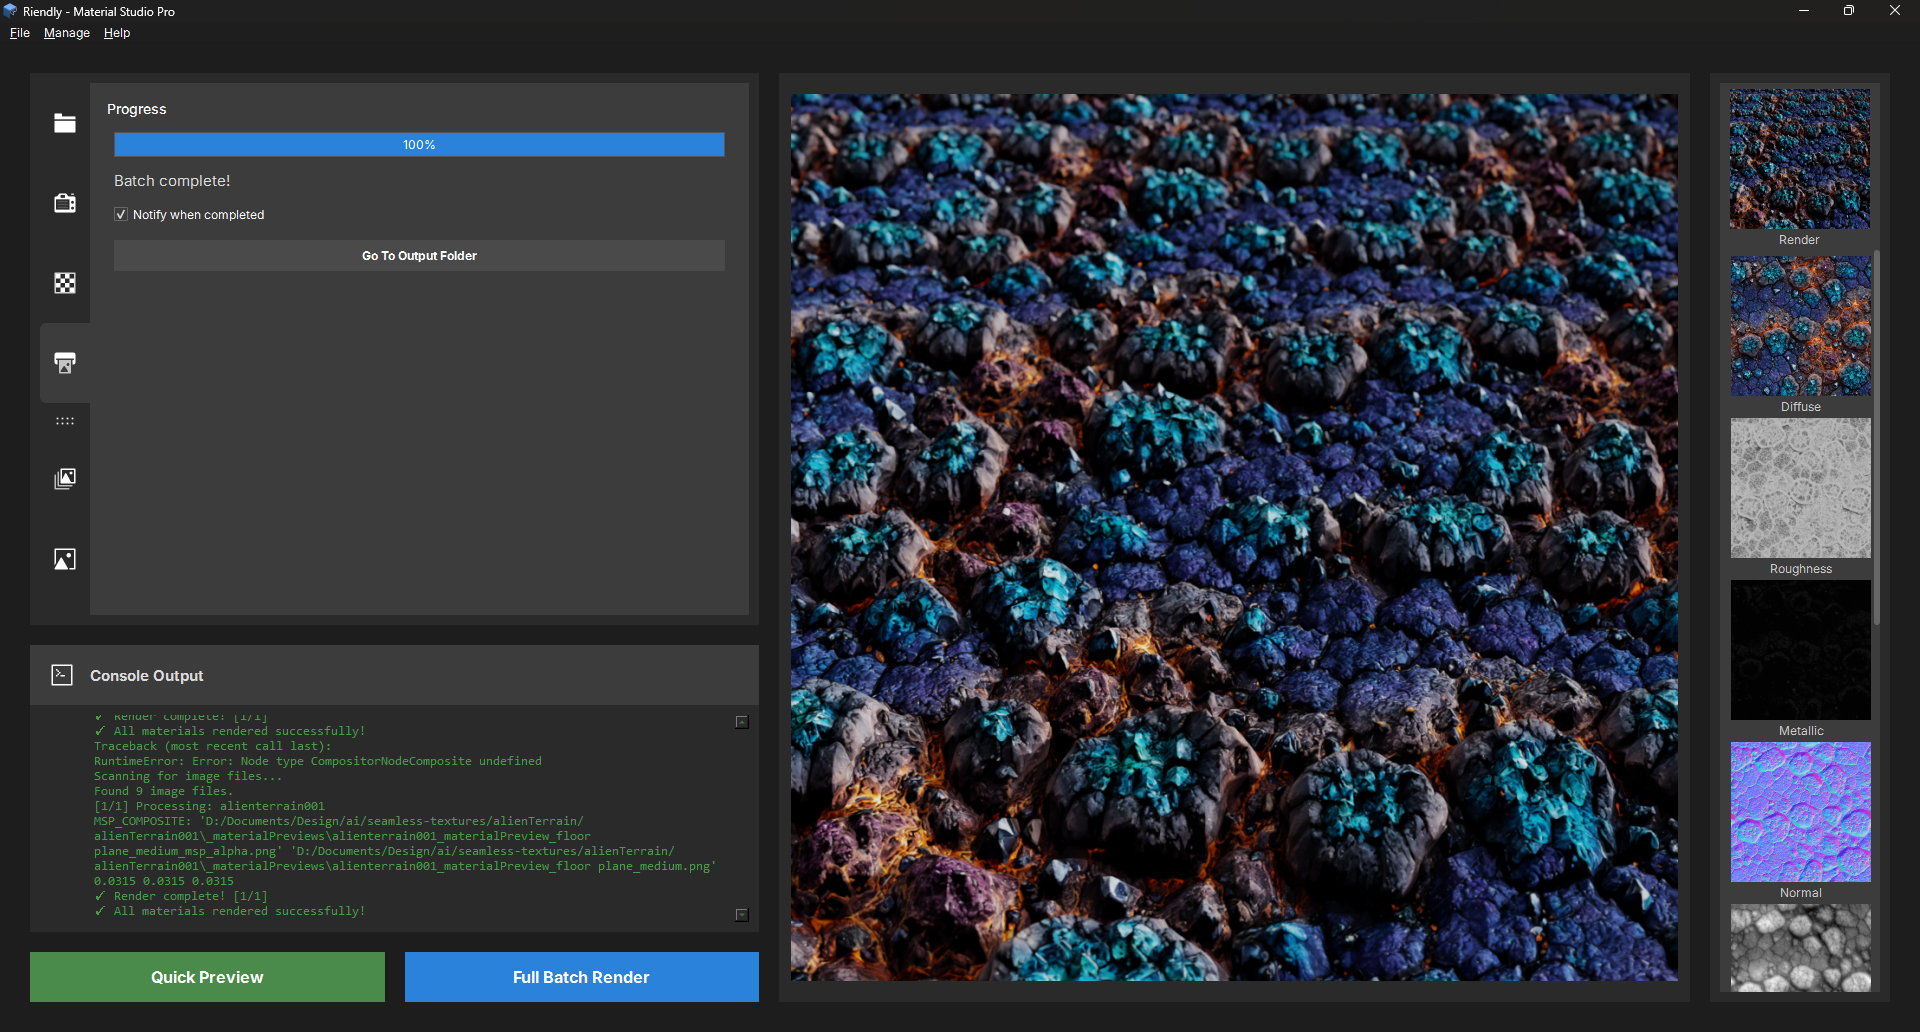
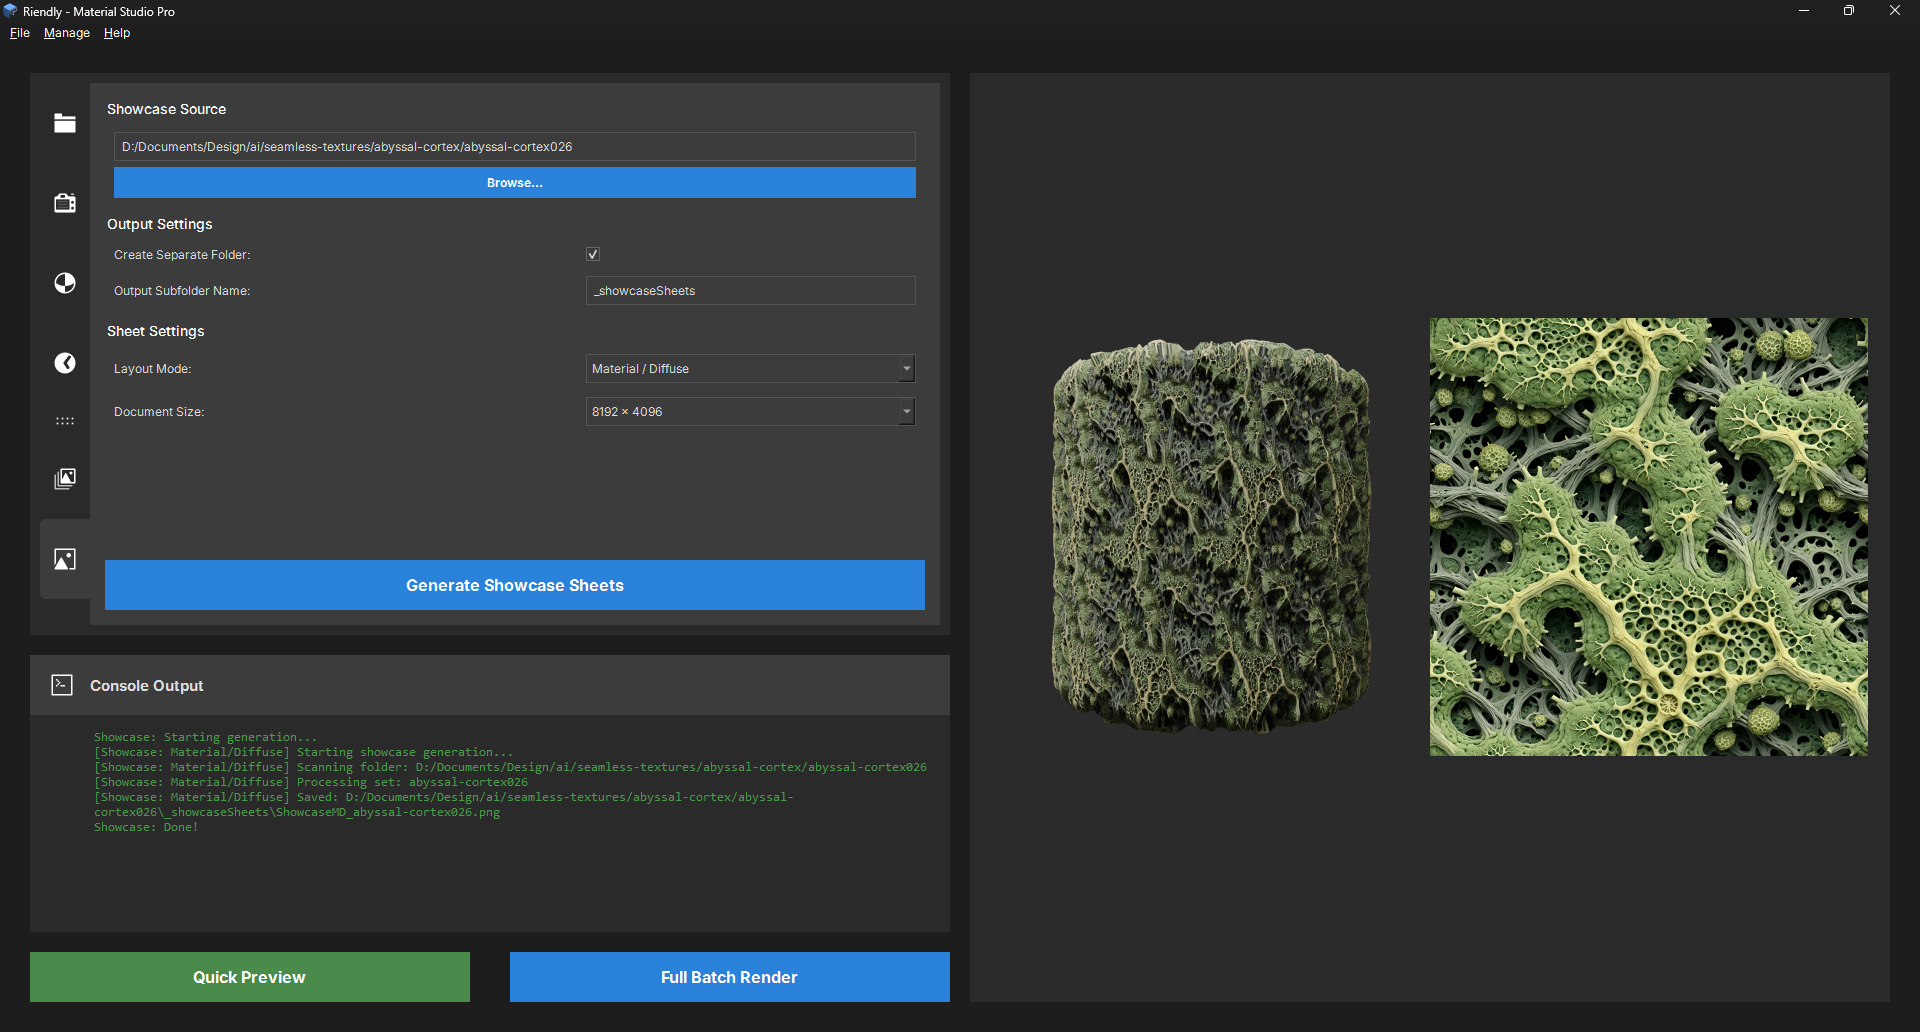
The Showcase tab is designed for presenting finished materials. Two layout modes: Material / TextureSet puts a 3×3 map grid next to the preview sphere, and Material / Diffuse gives you a clean two-panel view with just the diffuse alongside the sphere. Output sizes go up to 8192×4096. Both modes run in the background so nothing locks up while generating.
EXR Texture Support
EXR files are now supported in the sheet generators, using an OpenEXR + numpy fallback path with automatic tone mapping for linear data.
V1.2.0 - Texture & Lighting Update
09/04/2026 - Release notes and improvements
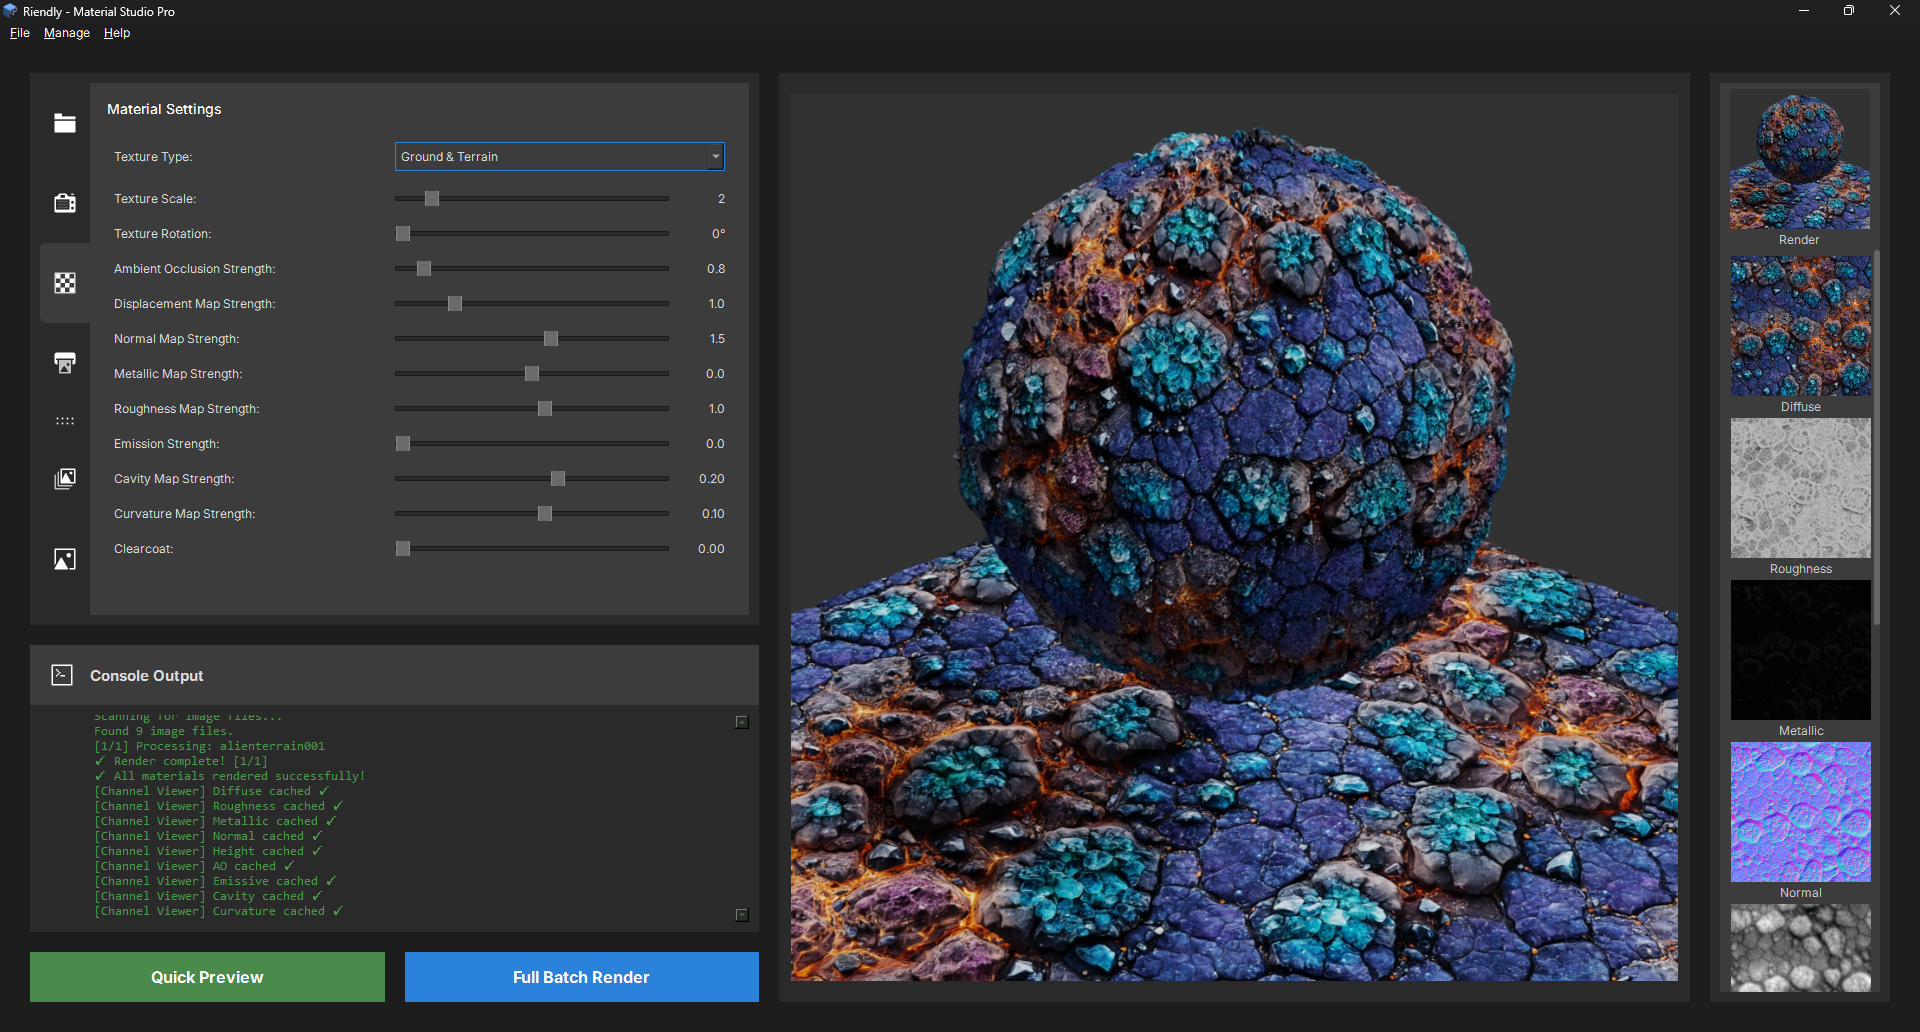
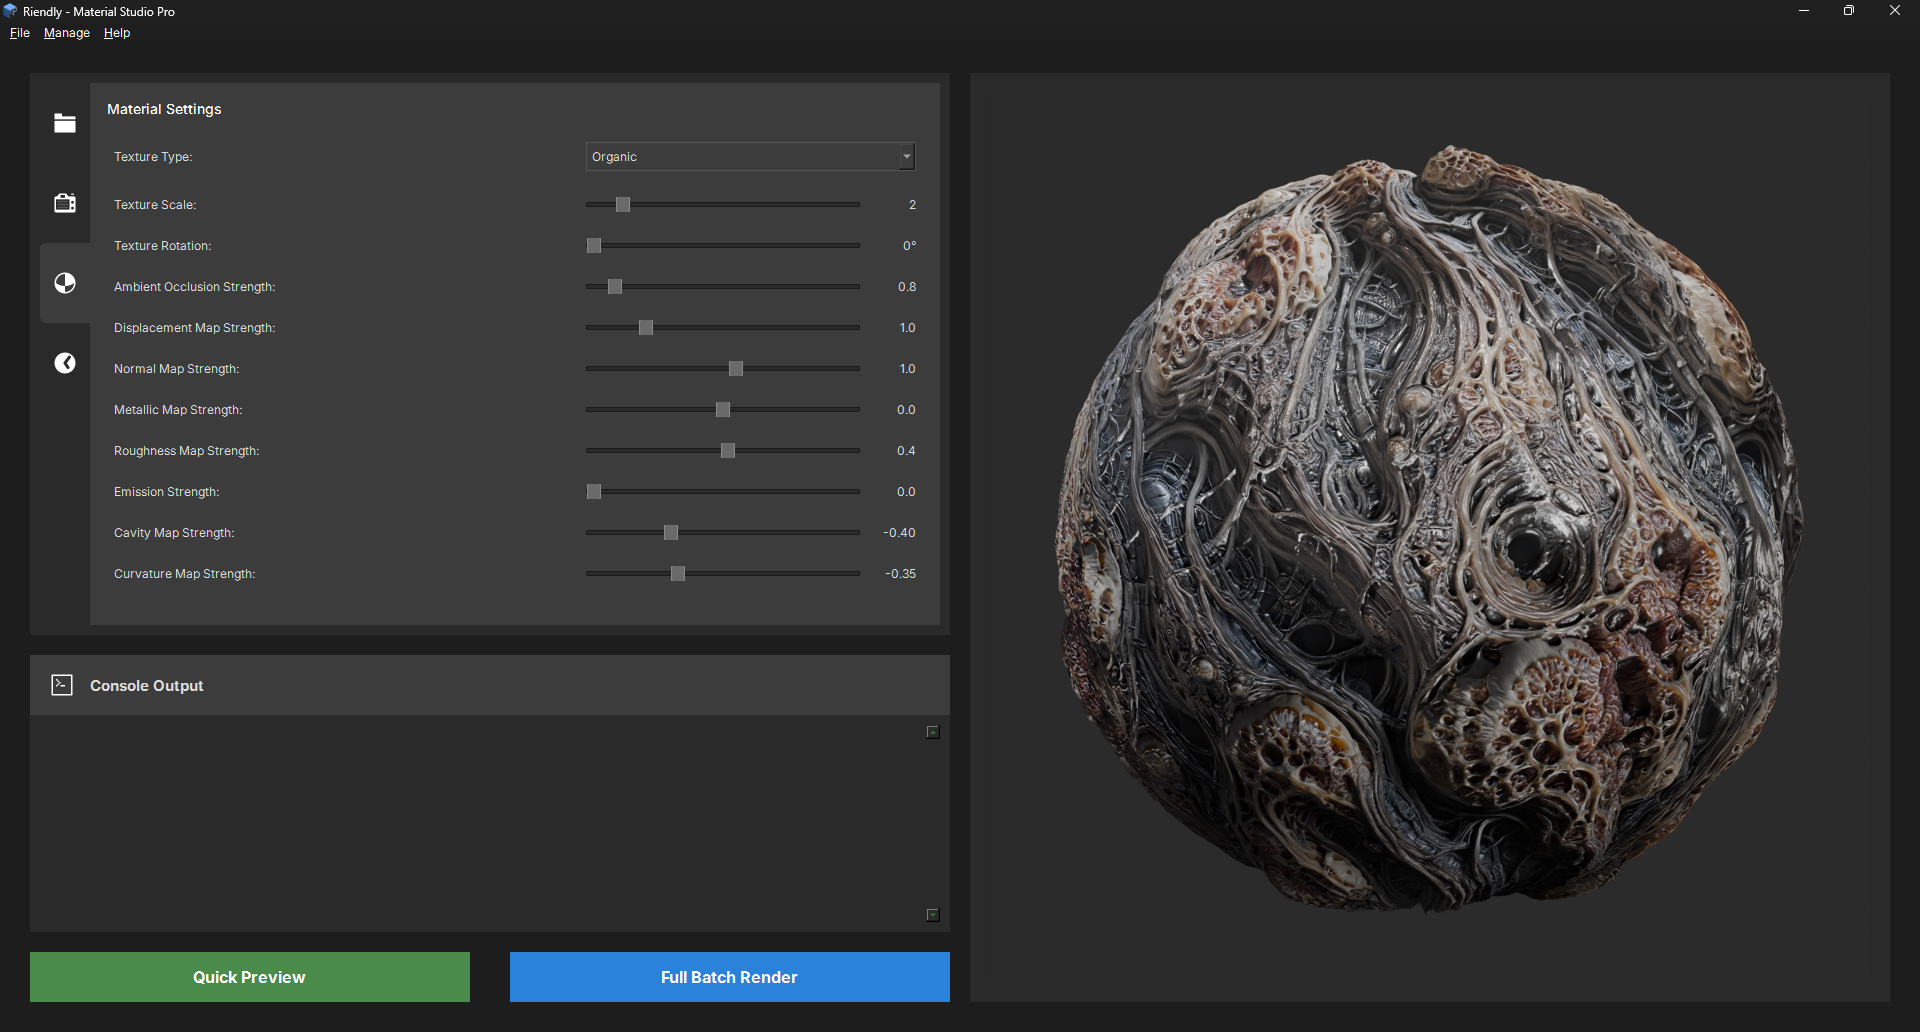
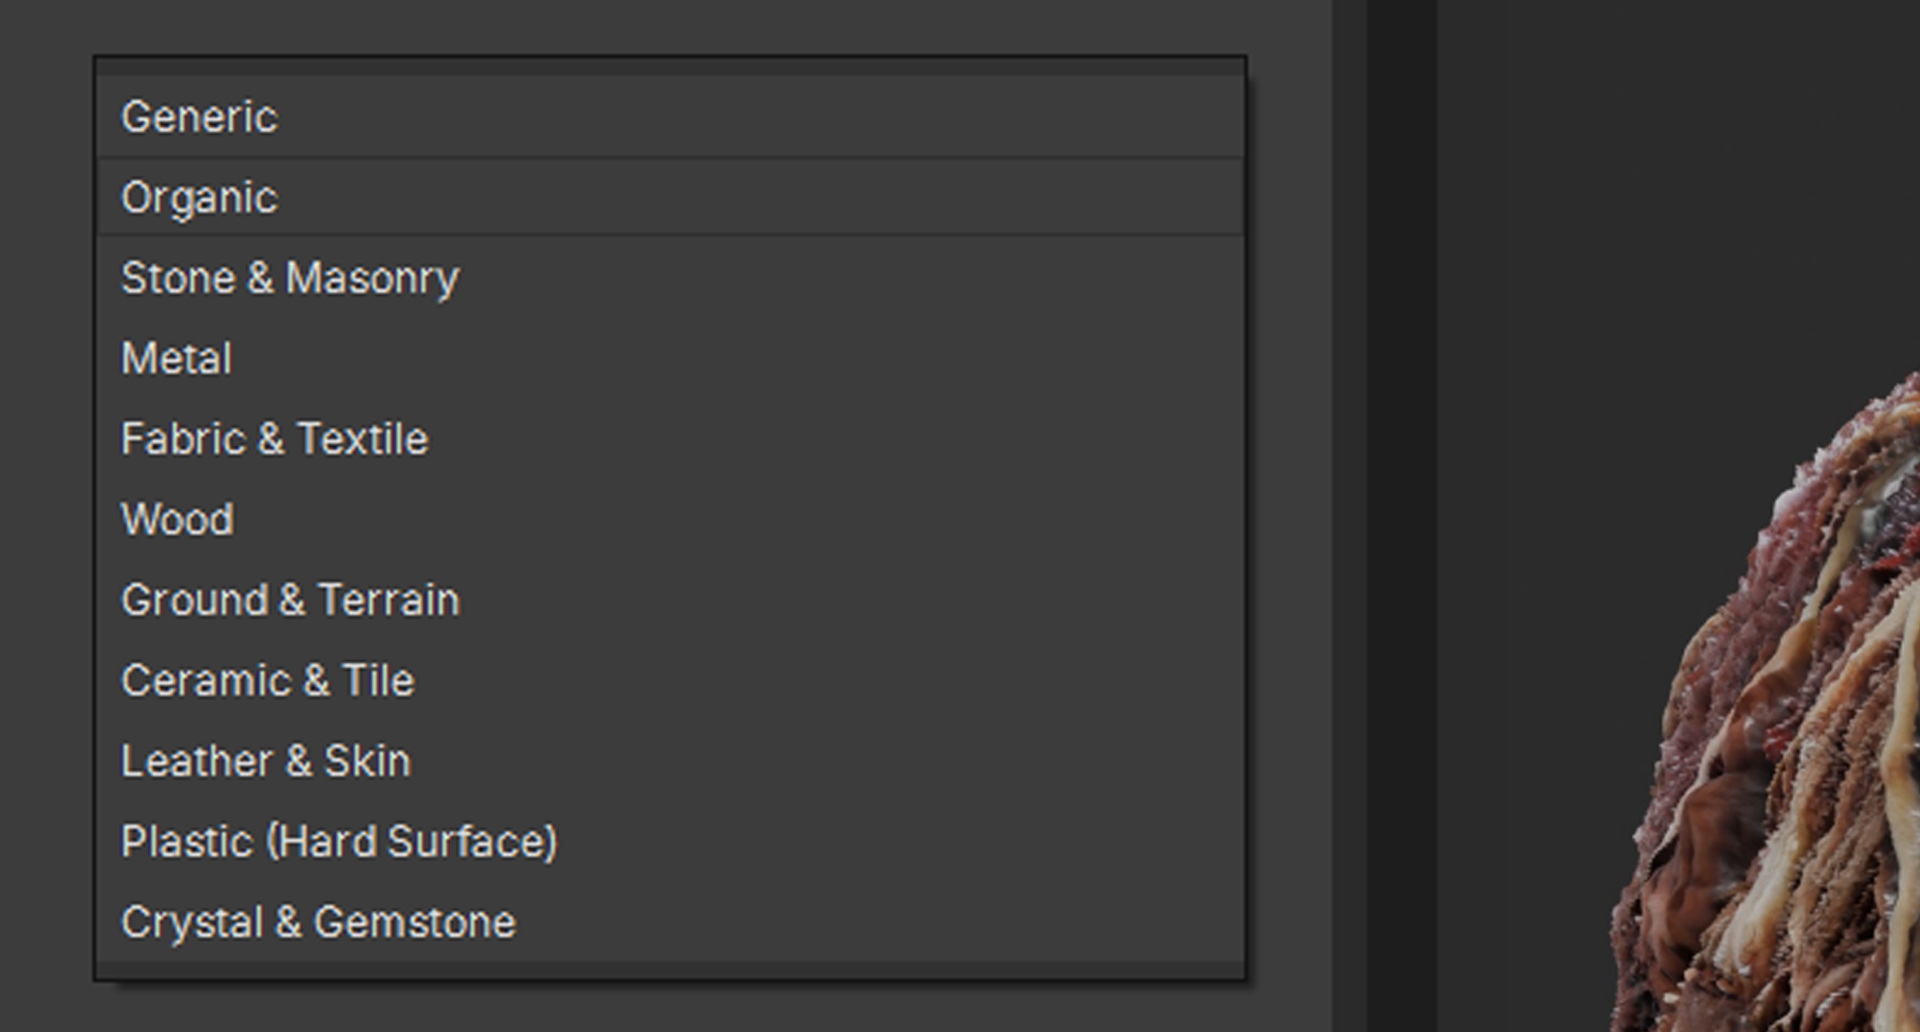
The headline feature for this release is a new Texture Type preset dropdown with 11 material categories: Generic, Organic, Stone & Masonry, Metal, Fabric & Textile, Wood, Ground & Terrain, Ceramic & Tile, Leather & Skin, Plastic (Hard Surface), and Crystal & Gemstone. Selecting a preset auto-fills all the map sliders with tuned starting values for that material class - Metal brings up metallic and tightens AO, Fabric boosts normal and roughness and adds cavity contribution, Organic softens roughness and pulls back metallic. Presets are a starting point, not a lock-in; every slider is still fully adjustable after applying one.
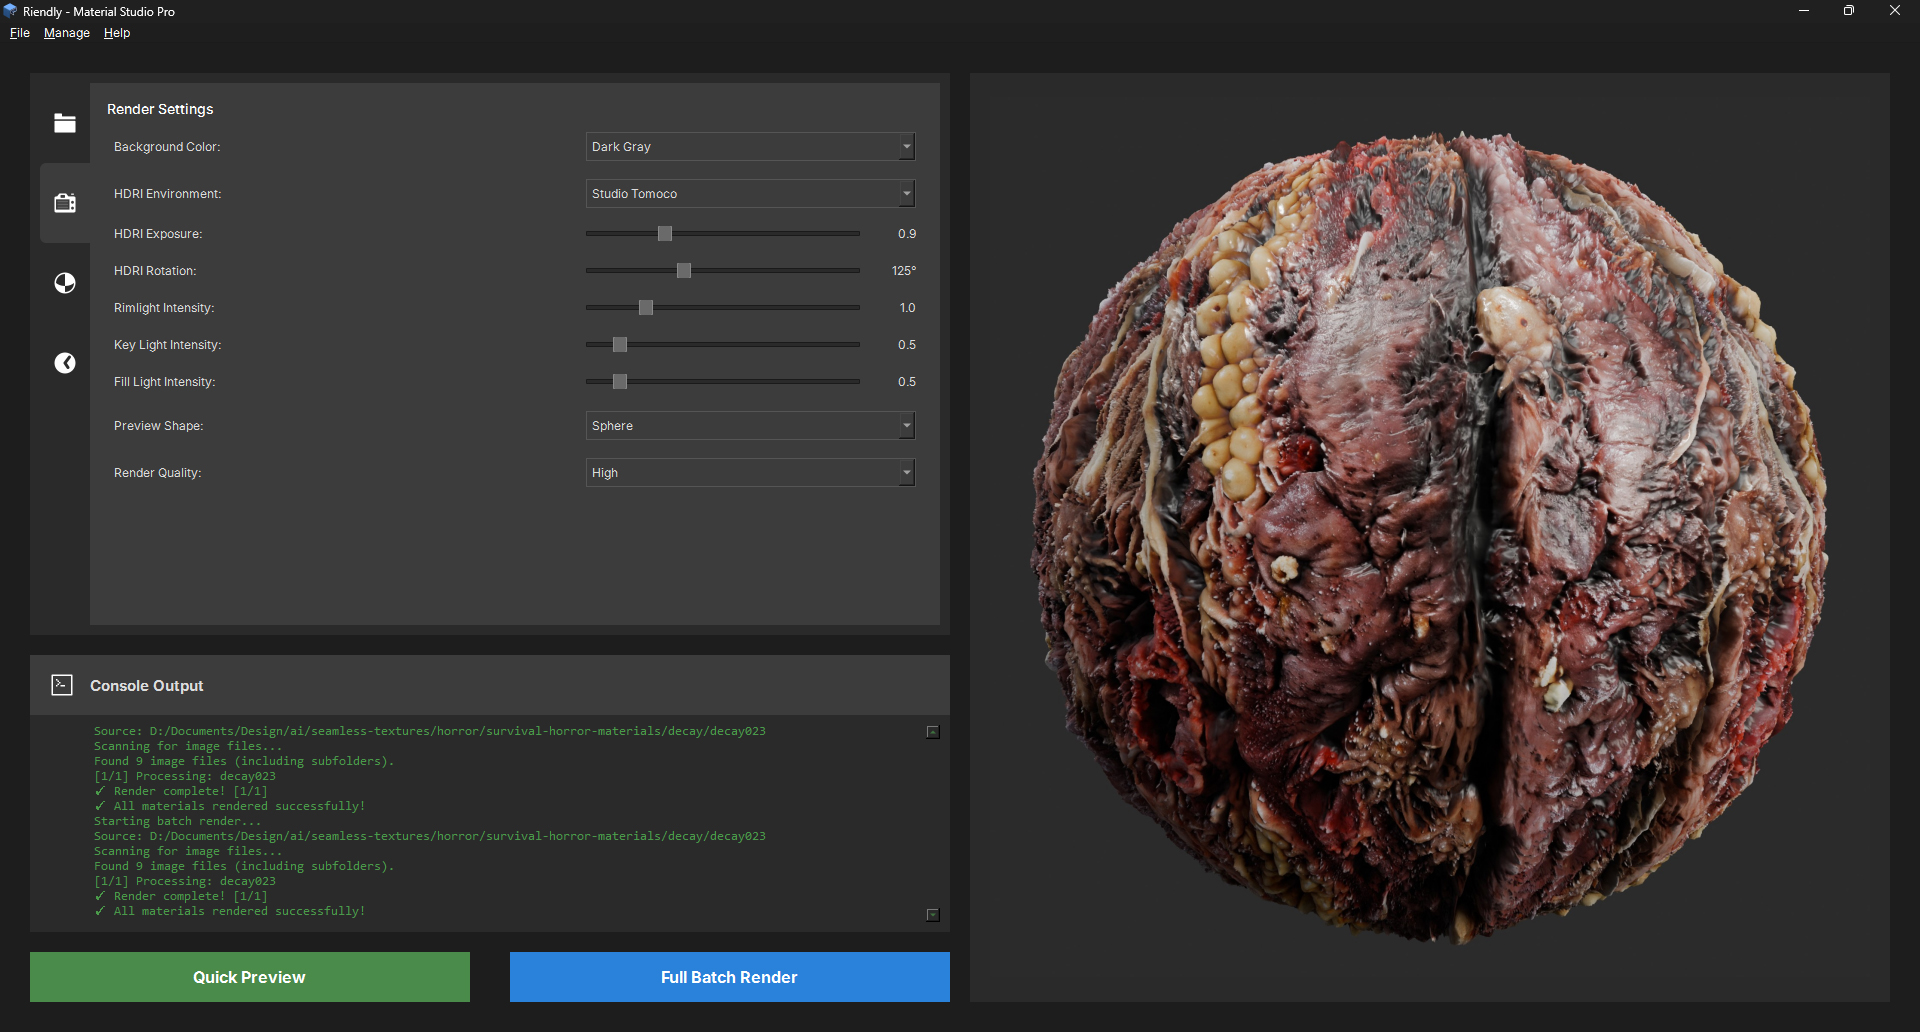
This release also adds three dedicated light controls. The Rimlight is camera-relative to automatically position itself behind the subject to bring out the texture silhouette, rather than using a hardcoded world-space position. The new Key Light is a sun-type source at a grazing angle that brings out surface detail and height variation that HDRI alone tends to smooth over. The Fill Light is a soft point light on the shadow side to lift crushed darks, particularly useful with low-albedo materials. All three default to 1.0 and can be zeroed out for pure HDRI lighting.
Next release will focus on output and export improvements.
V1.1.0 - Rendering Update
13/12/2025 - Release notes and bugfixes
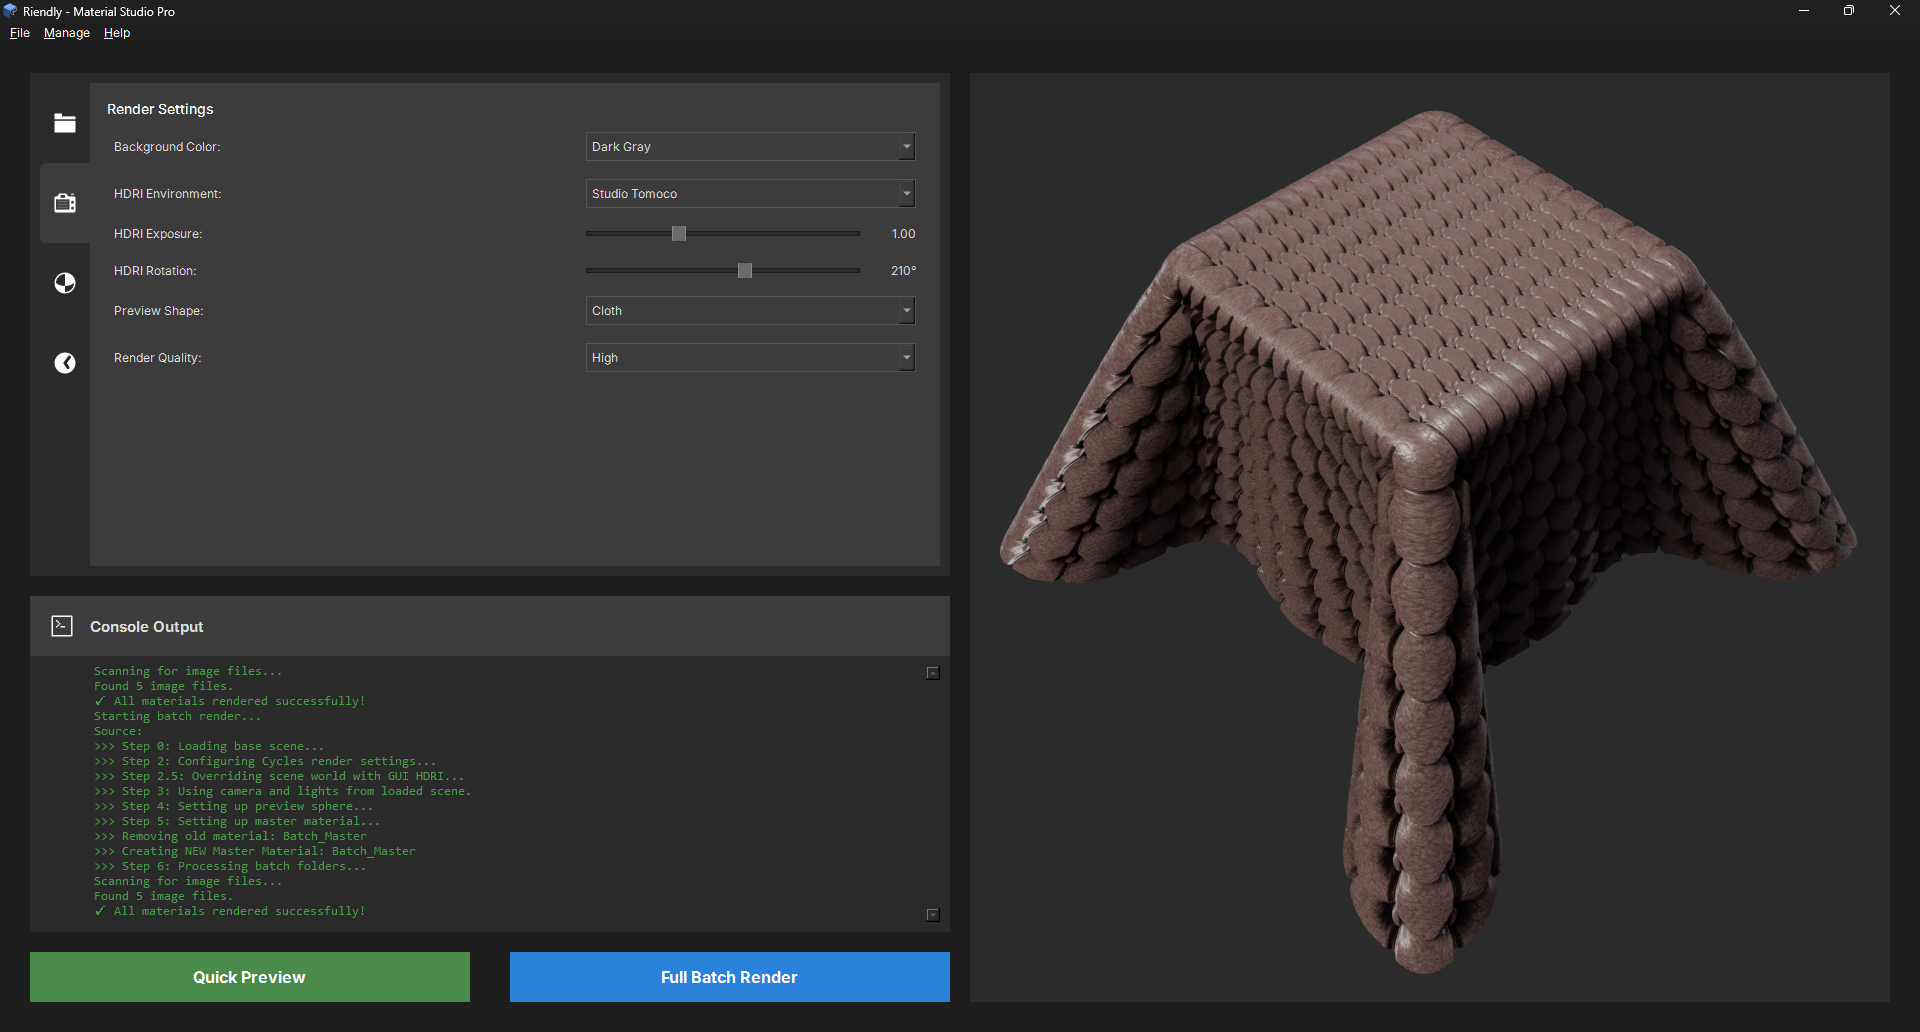
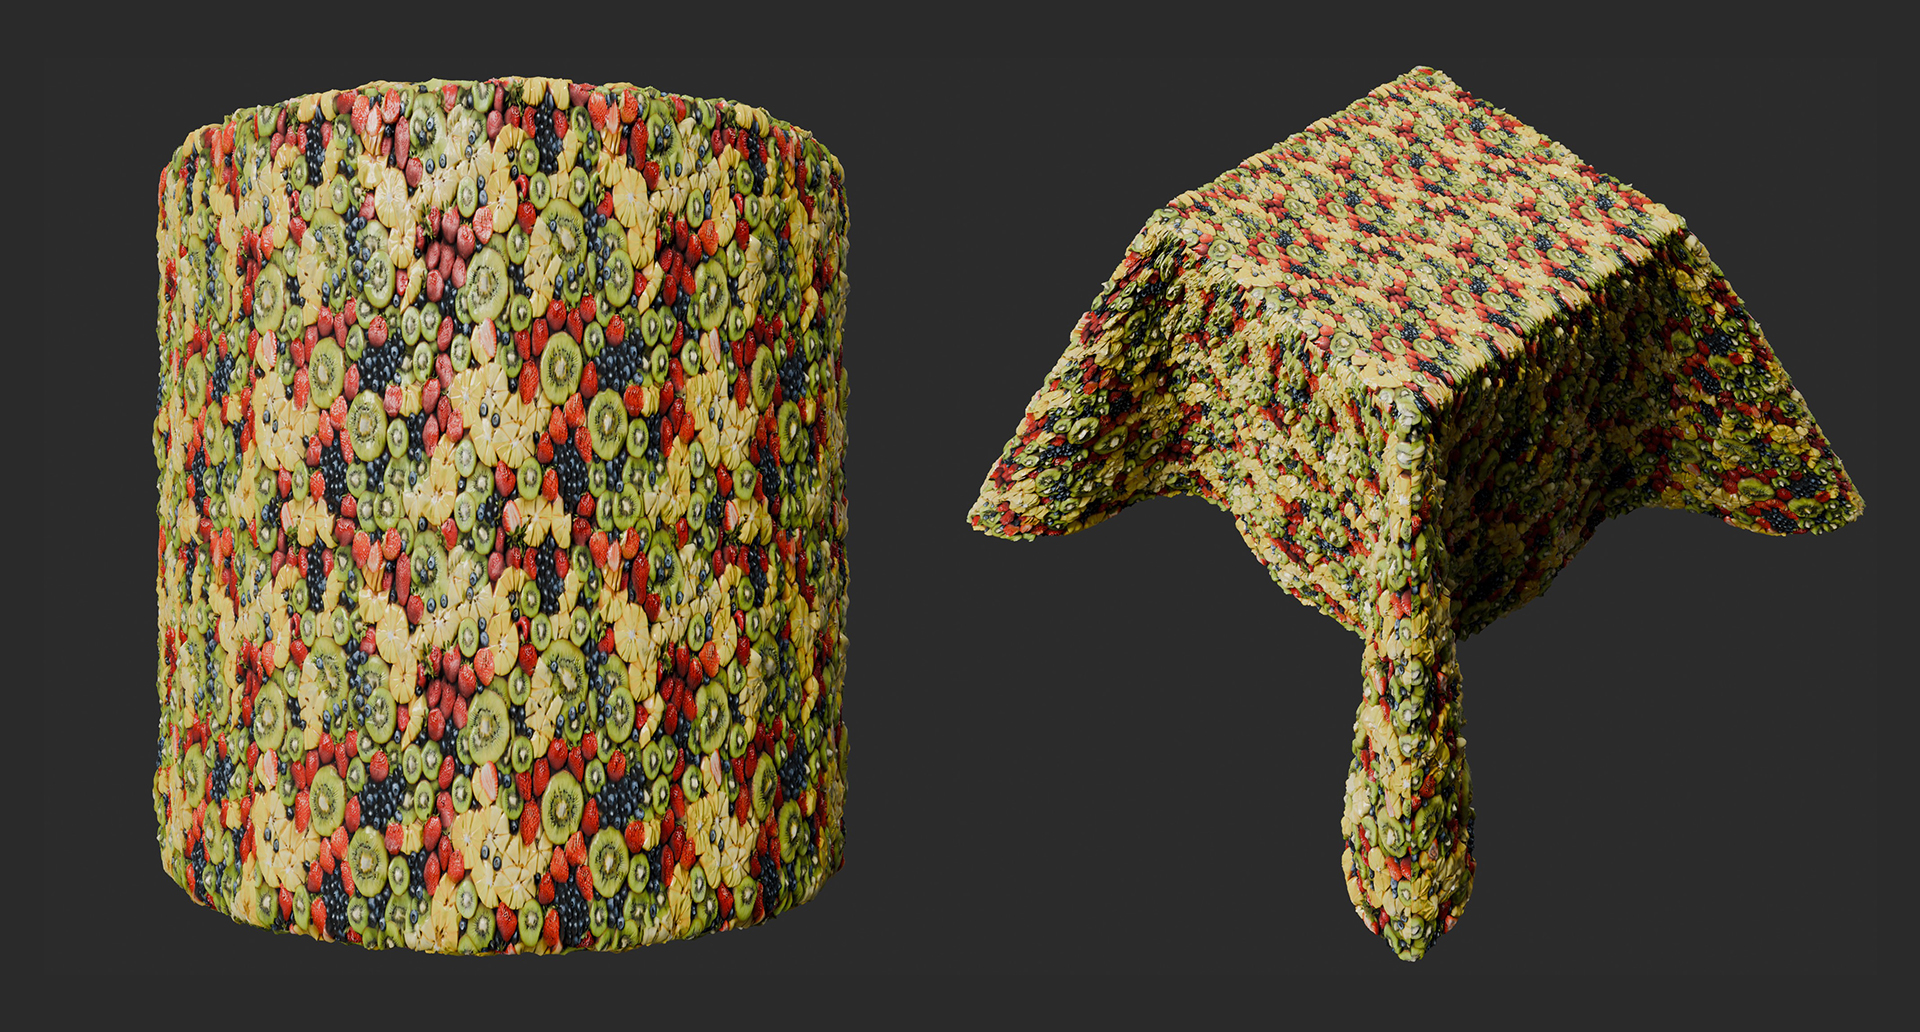
The main goal for this release was to add additional 3D meshes for previewing, as many texture artists like to use a combination of matballs such as cylinders and a draped cloth for fabric showcases. This enhancement provides a more versatile platform for artists to visualize how their textures will appear on different surfaces.
We also had a major update with the quality settings. Previously we used a separate setting for the resolution of the environment map and the quality of the filtering. This led to confusion as users would set a high resolution but low quality, leading to noisy reflections. To address this, we combined these into a single "Quality" slider that adjusts both parameters in tandem. This simplifies the user experience and ensures consistent visual fidelity across different hardware capabilities.
Performance optimizations were also a key focus for this release. We implemented several under-the-hood improvements to the rendering engine, including more efficient memory management and optimized shader code. These changes have resulted in a significant boost in render times, especially on mid-range hardware. Users should notice smoother interactions and faster load times when working with high-resolution textures.
V1.0.1 - Official Launch
08/12/2025 - Official Launch and Public Release.
This was the first official launch of the product, marking its availability to the public. It included the core features and set the foundation for future updates and improvements.
Key features included a user-friendly interface, support for various texture formats, and basic rendering capabilities. The launch was accompanied by full documentation and community support to help new users get started quickly.